Skip 2025 Retrospective and 2026 Roadmap
As 2025 comes to a close, we’ve been reflecting on how far Skip has advanced this year. What began nearly three years ago with a simple desire to enable cross-platform app development with Swift and SwiftUI has grown into a thriving ecosystem, a strong community of developers and contributors, and a platform powering real production apps across iOS and Android.
This year wasn’t just about growth in numbers. It was about expanding depth and breadth: deeper integrations, stronger foundations, and a clearer vision for the future of native Swift across the dominant mobile platforms.
Native Swift on Android Becomes Officially Supported
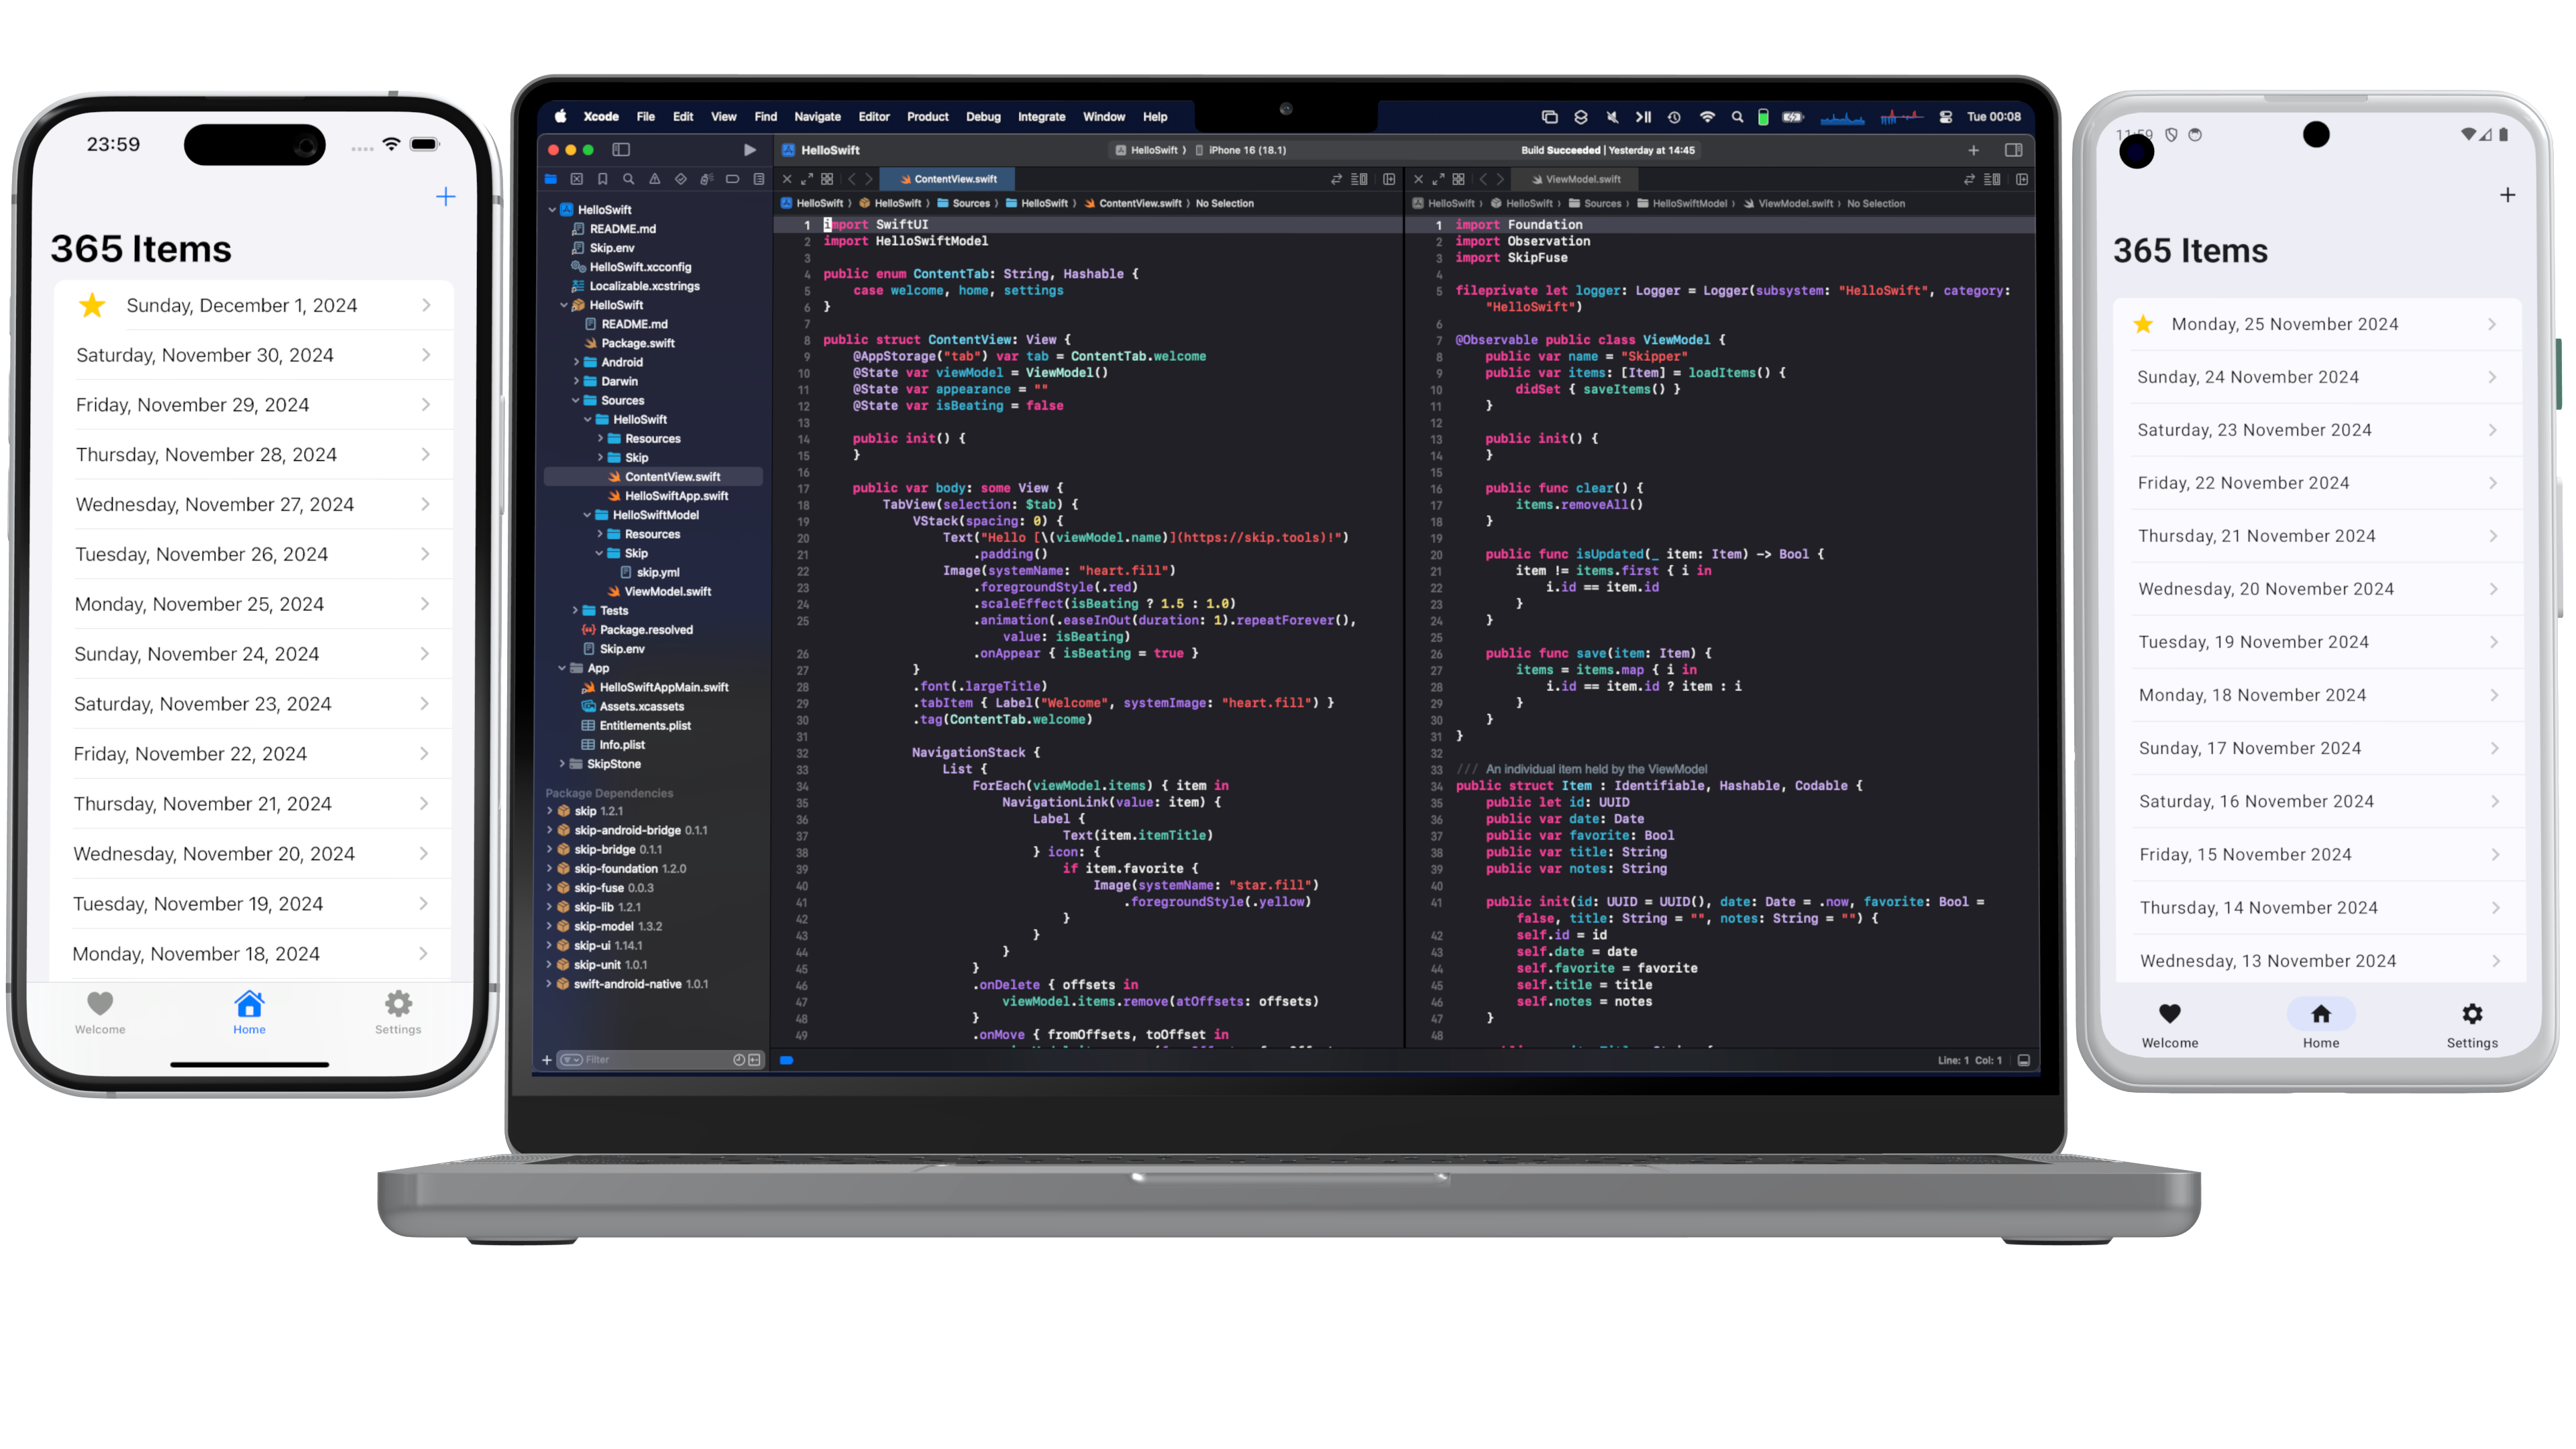
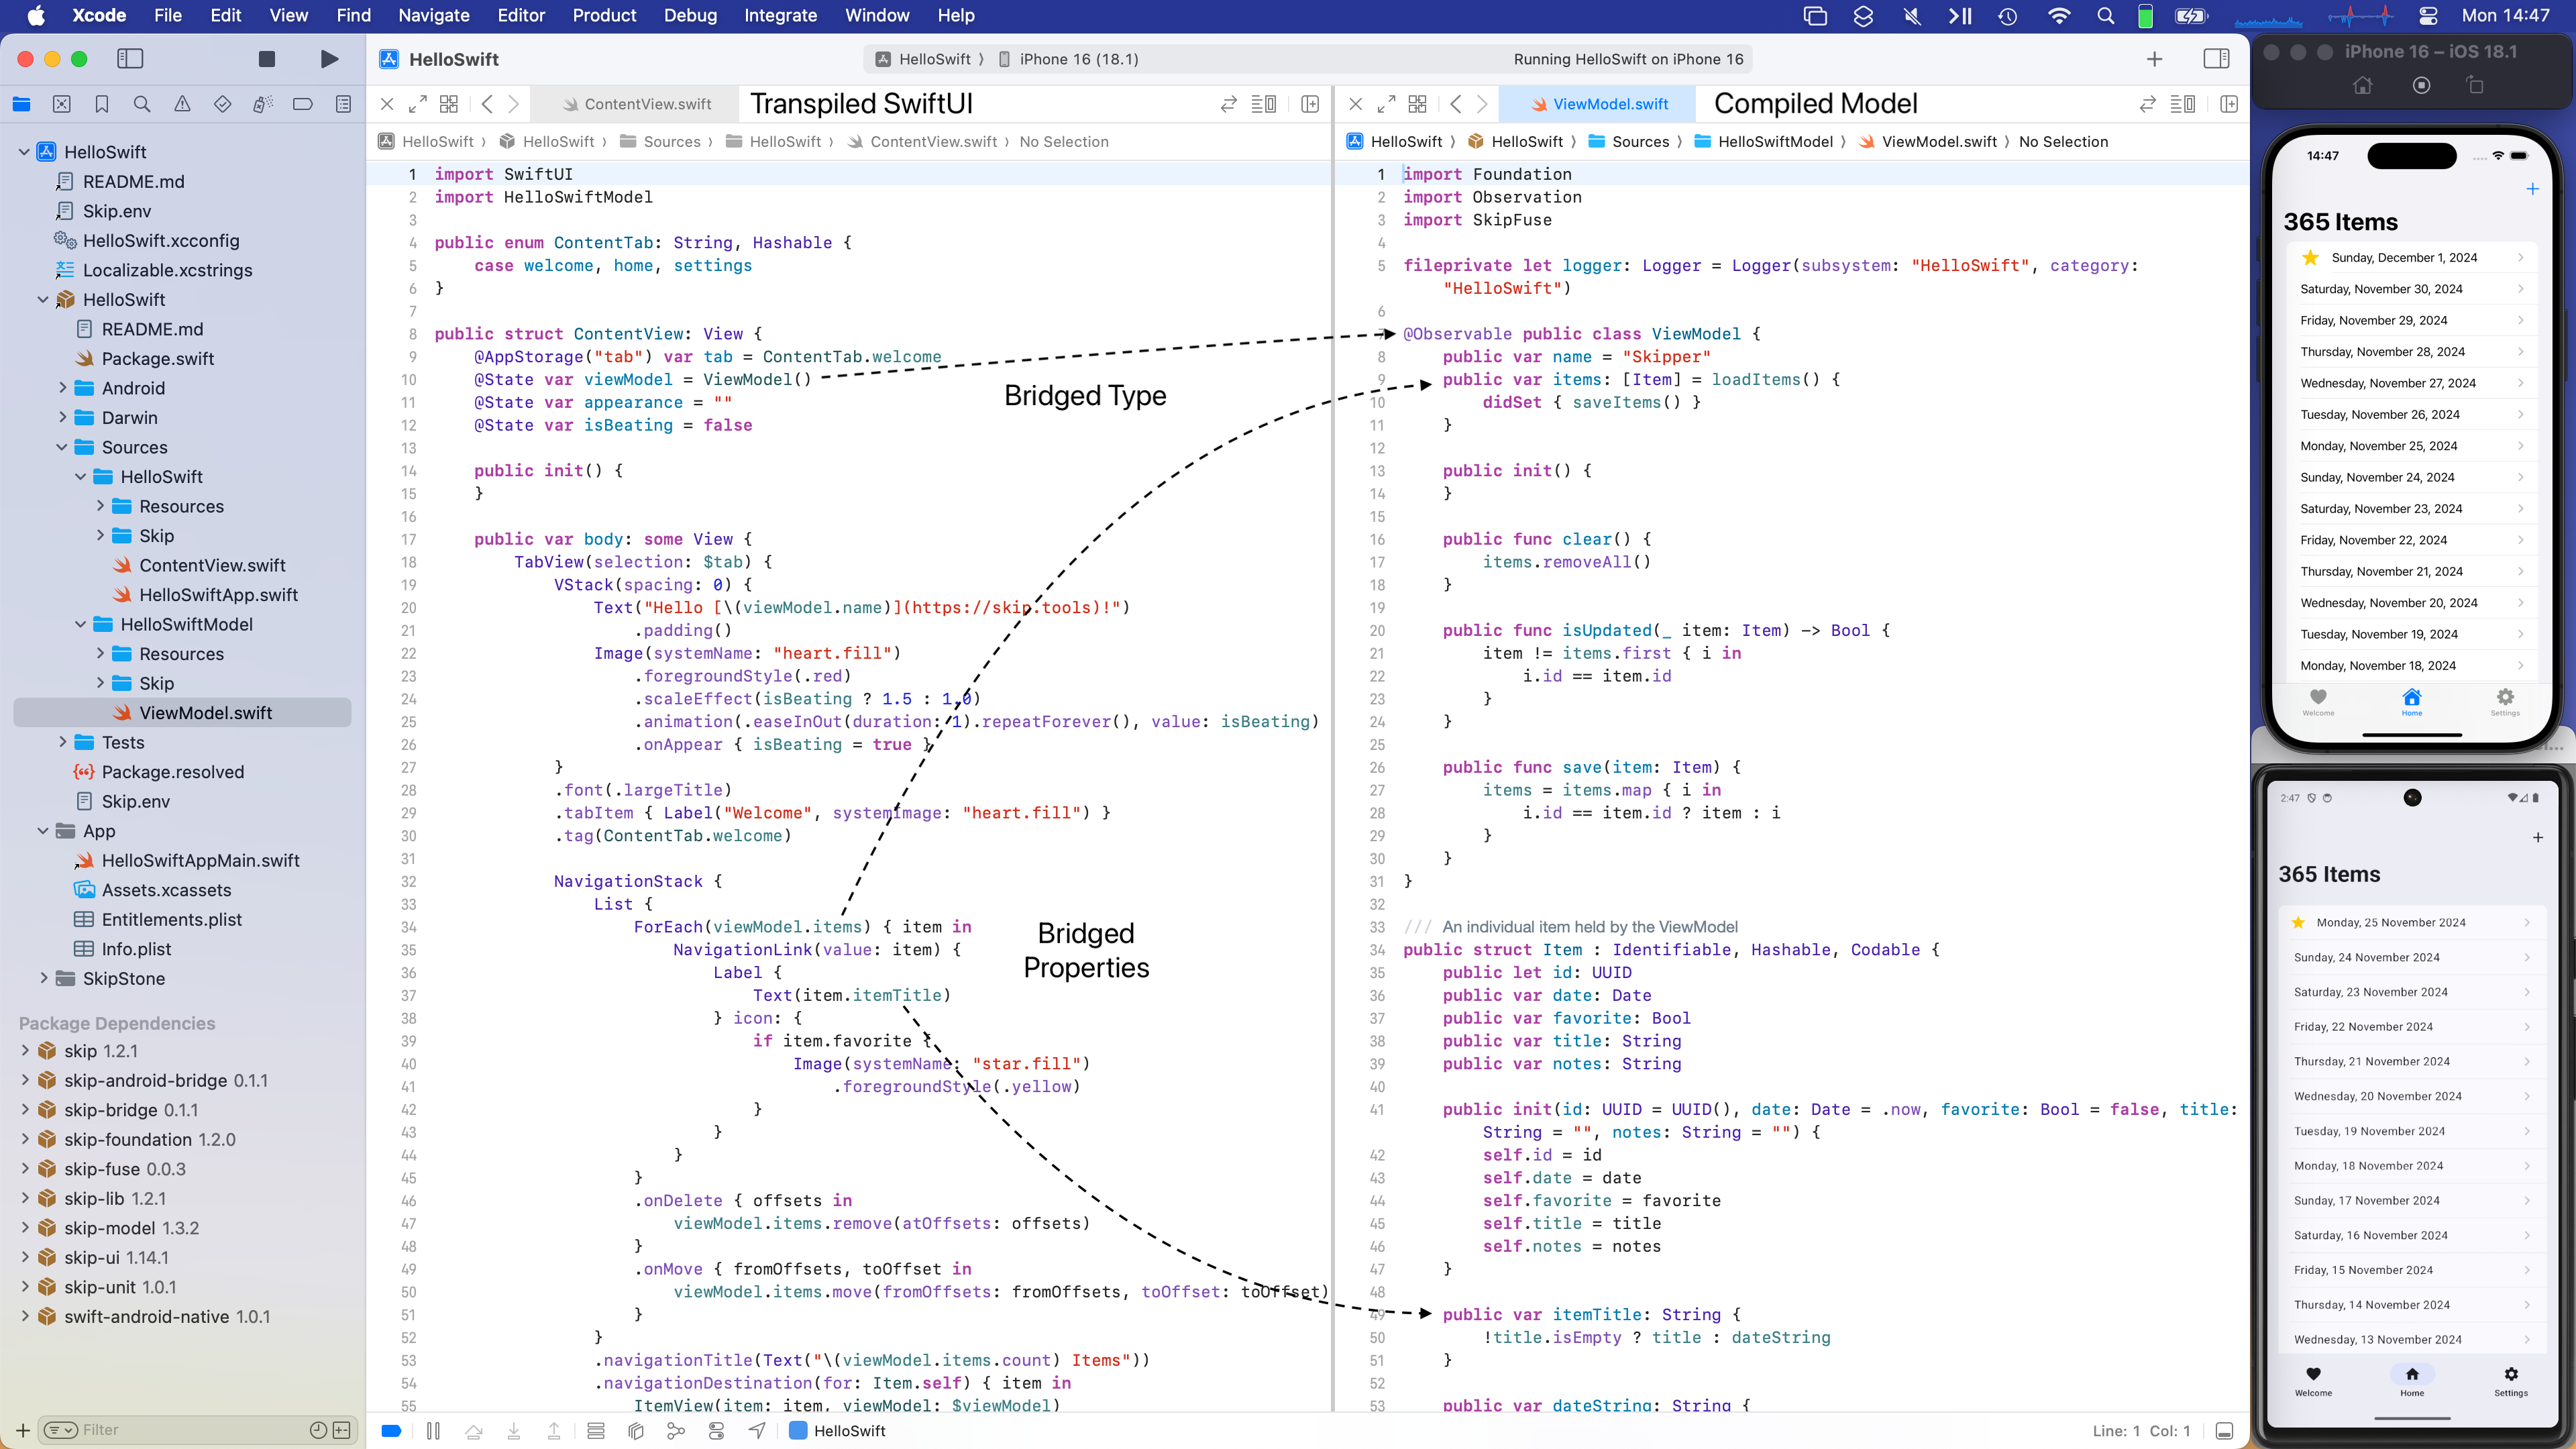
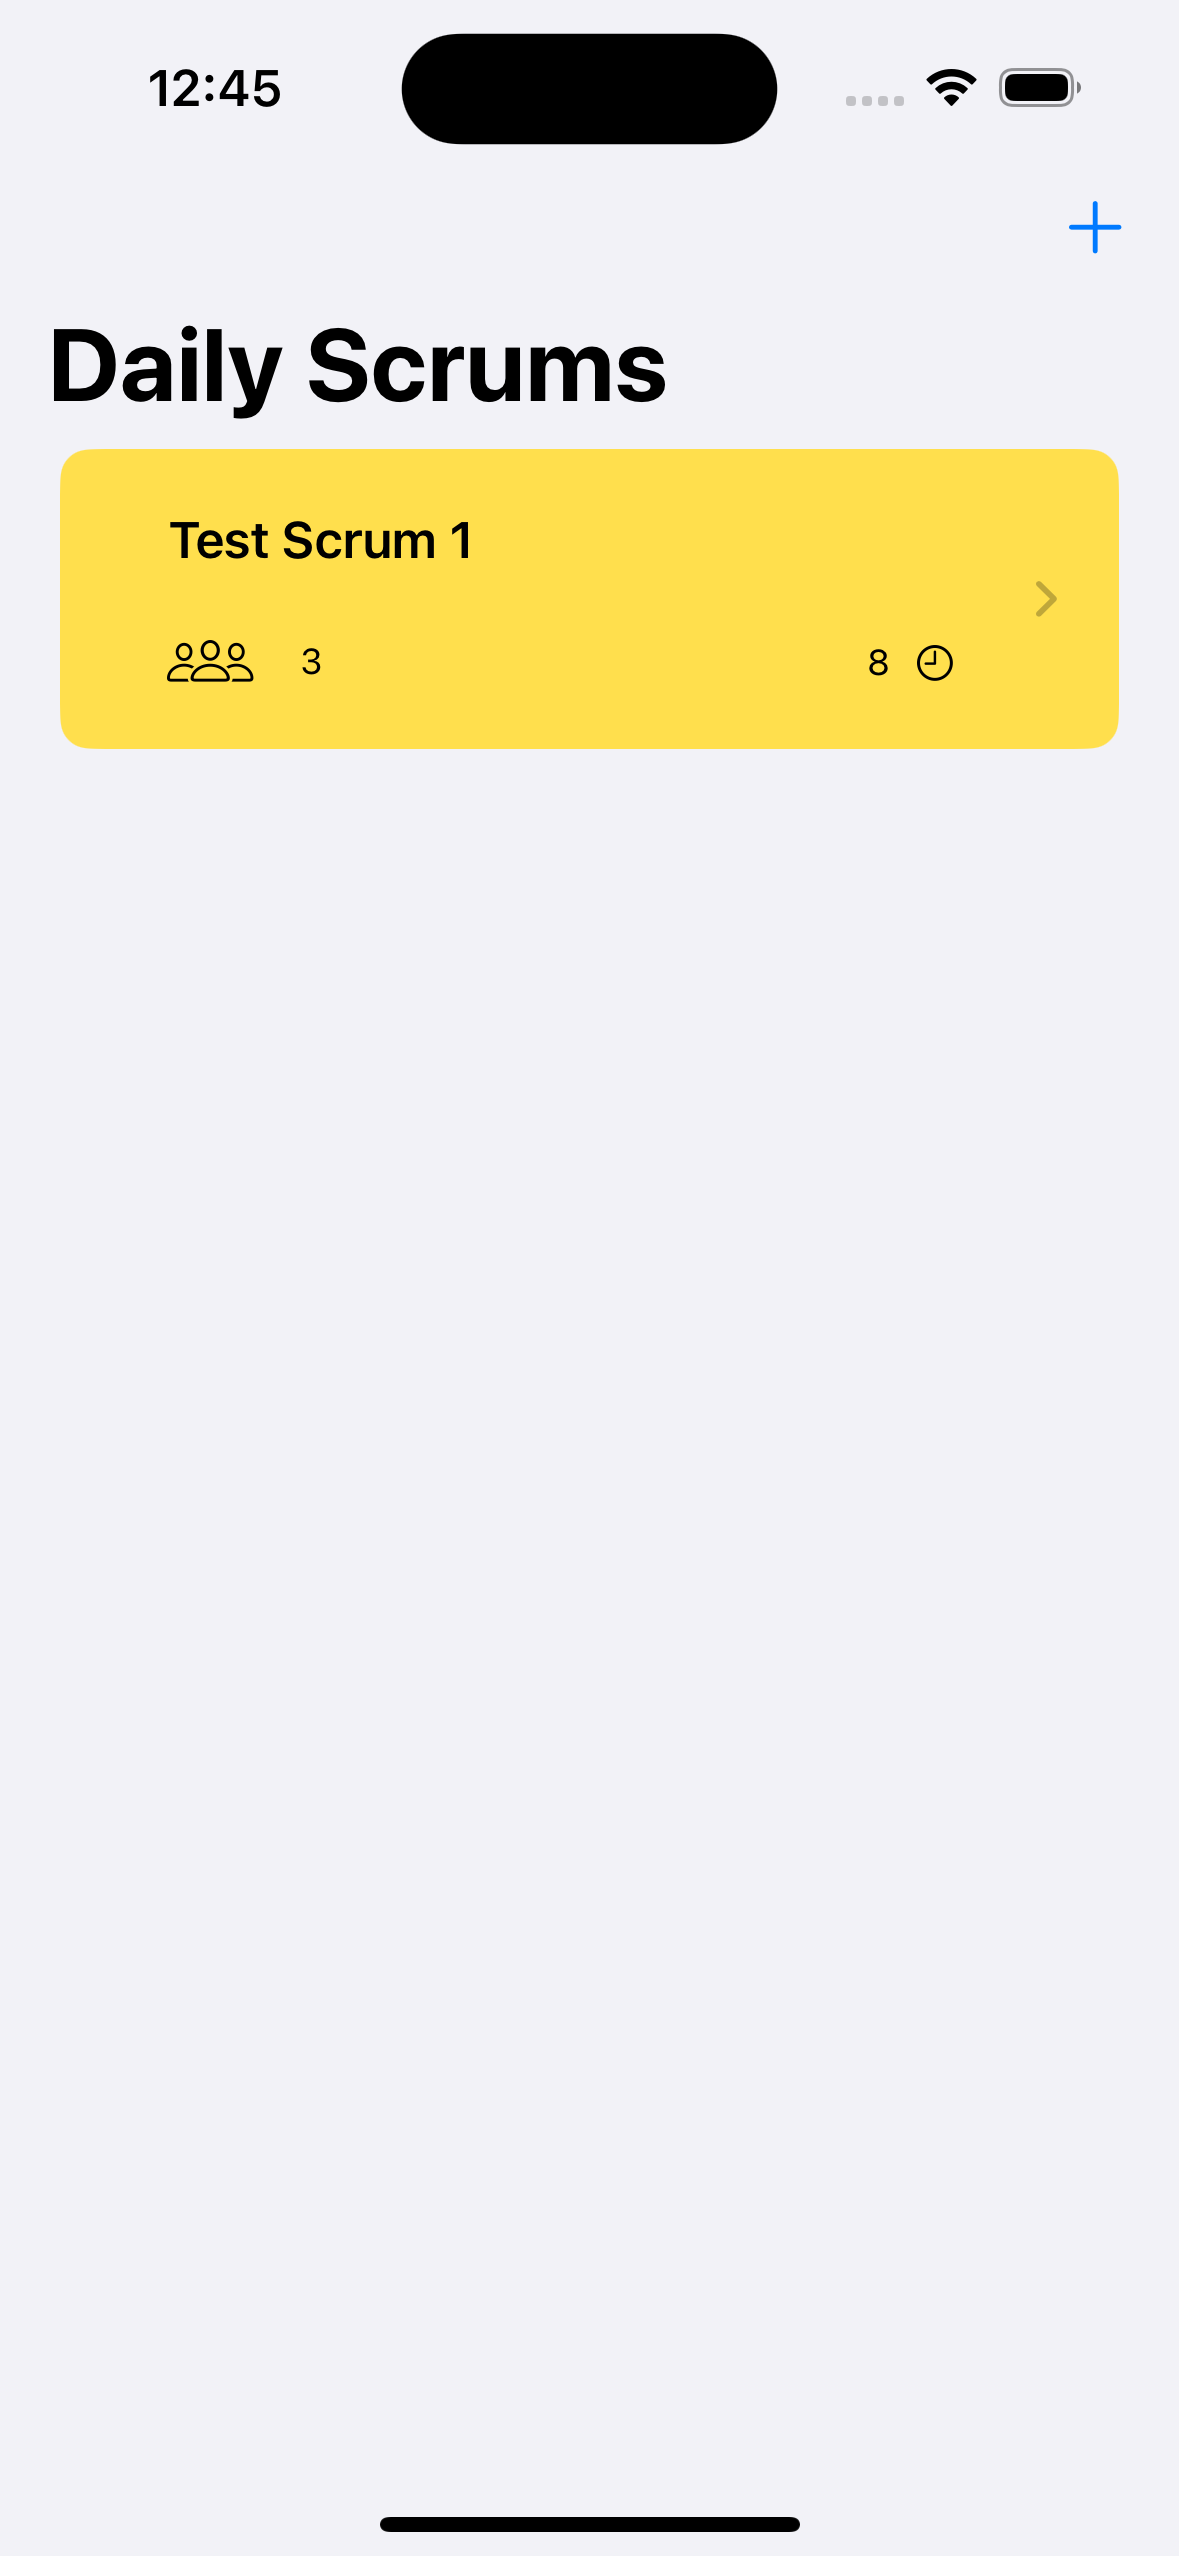
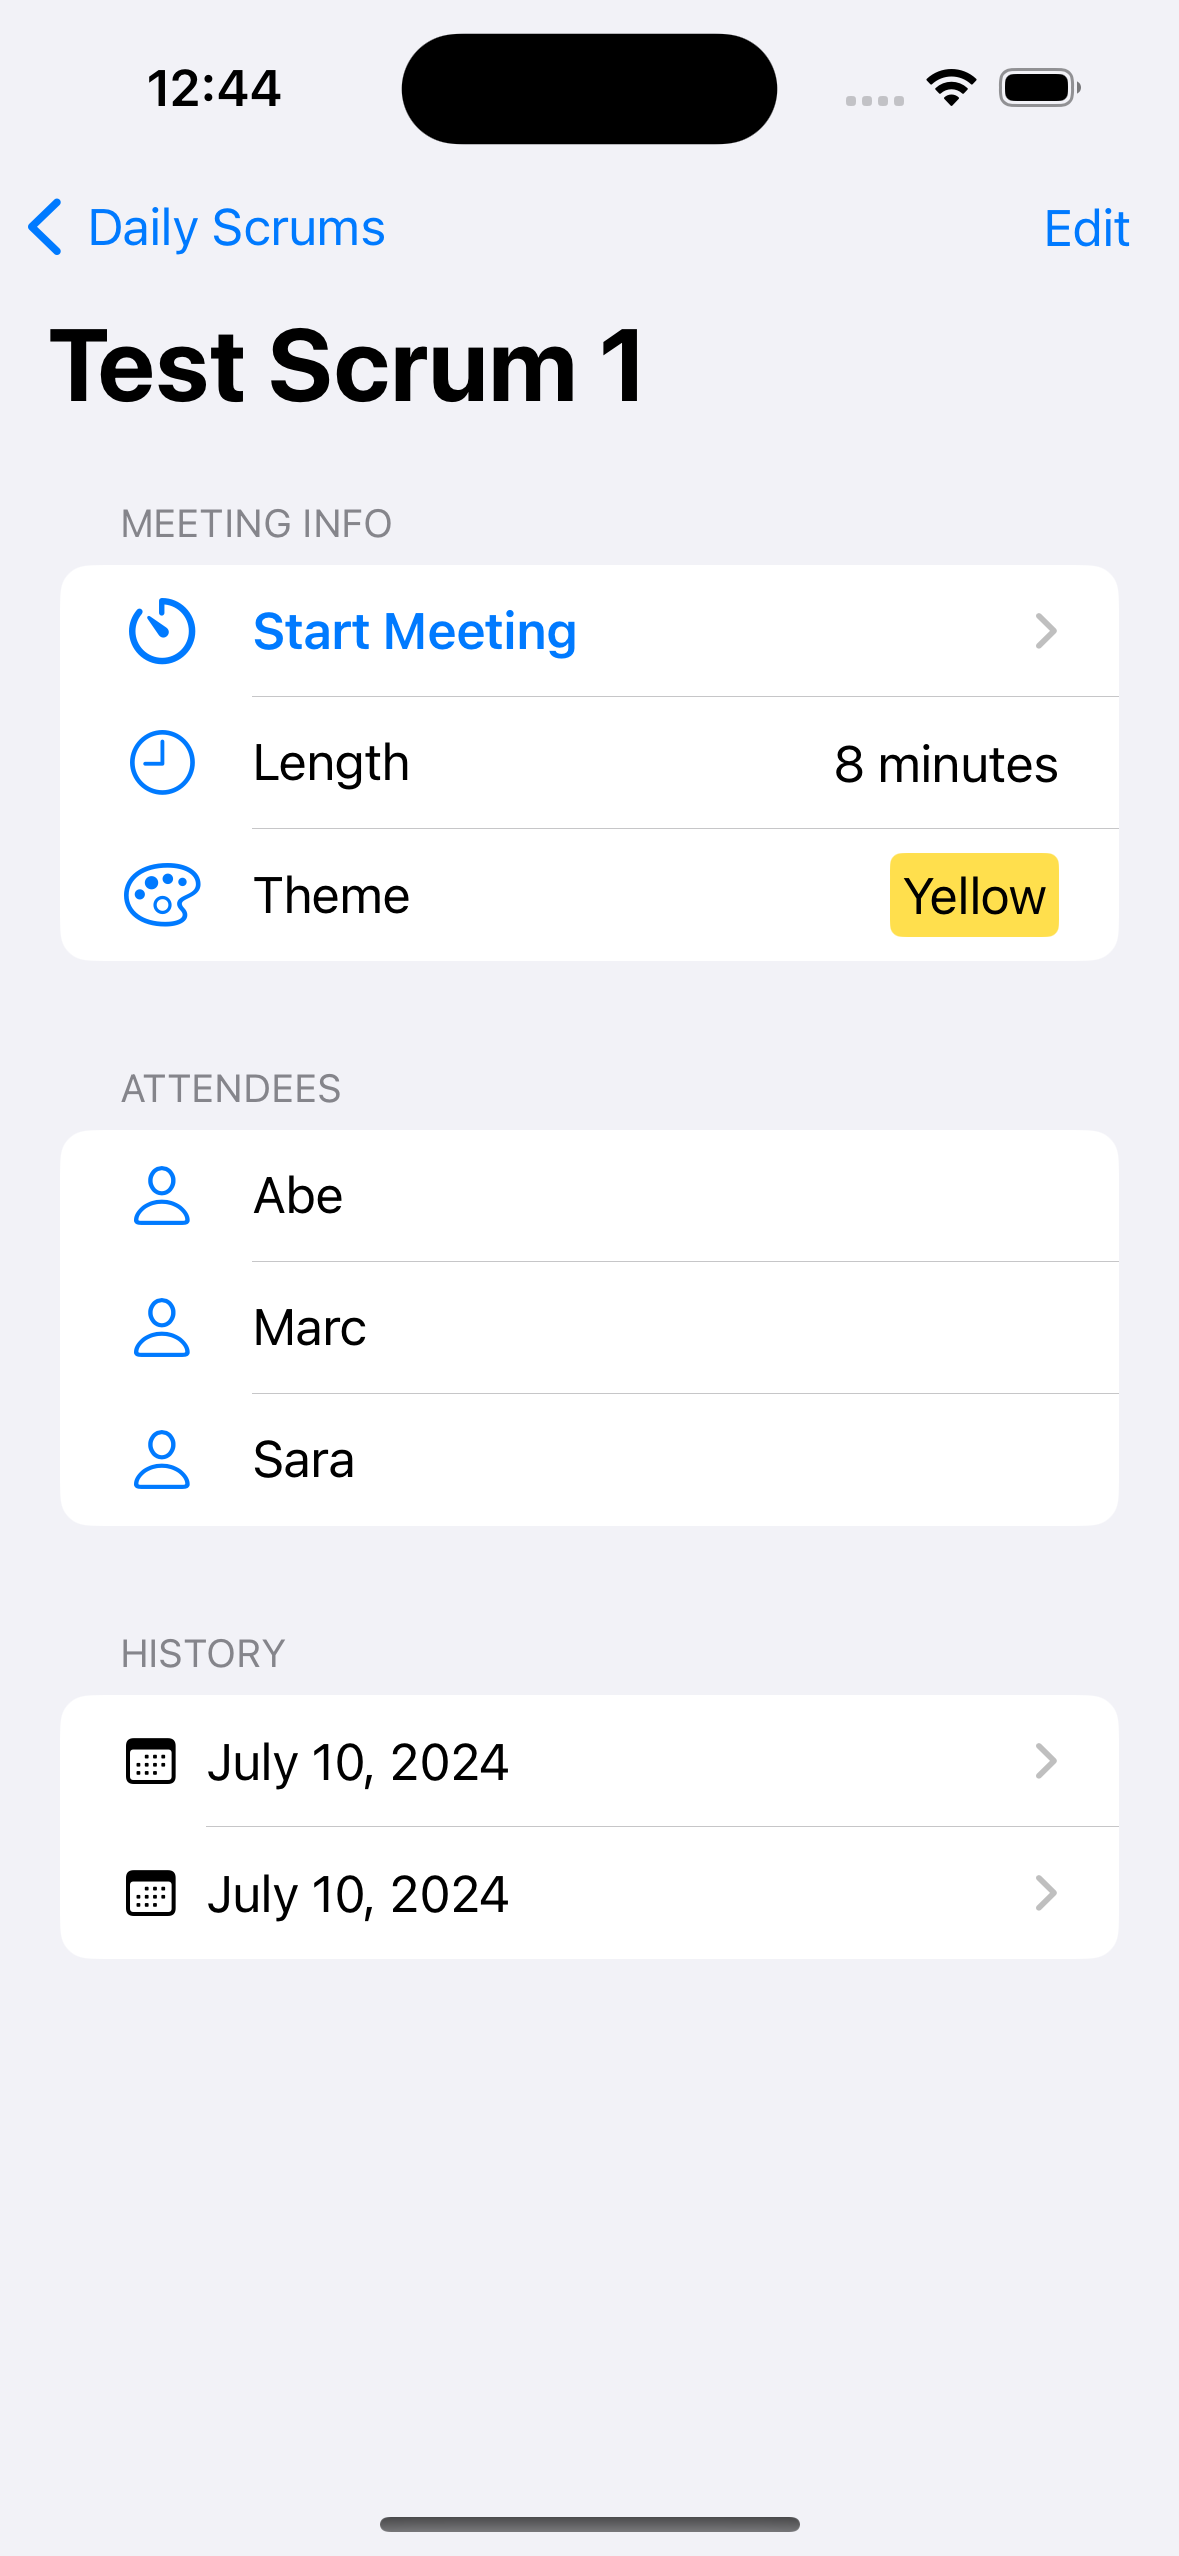
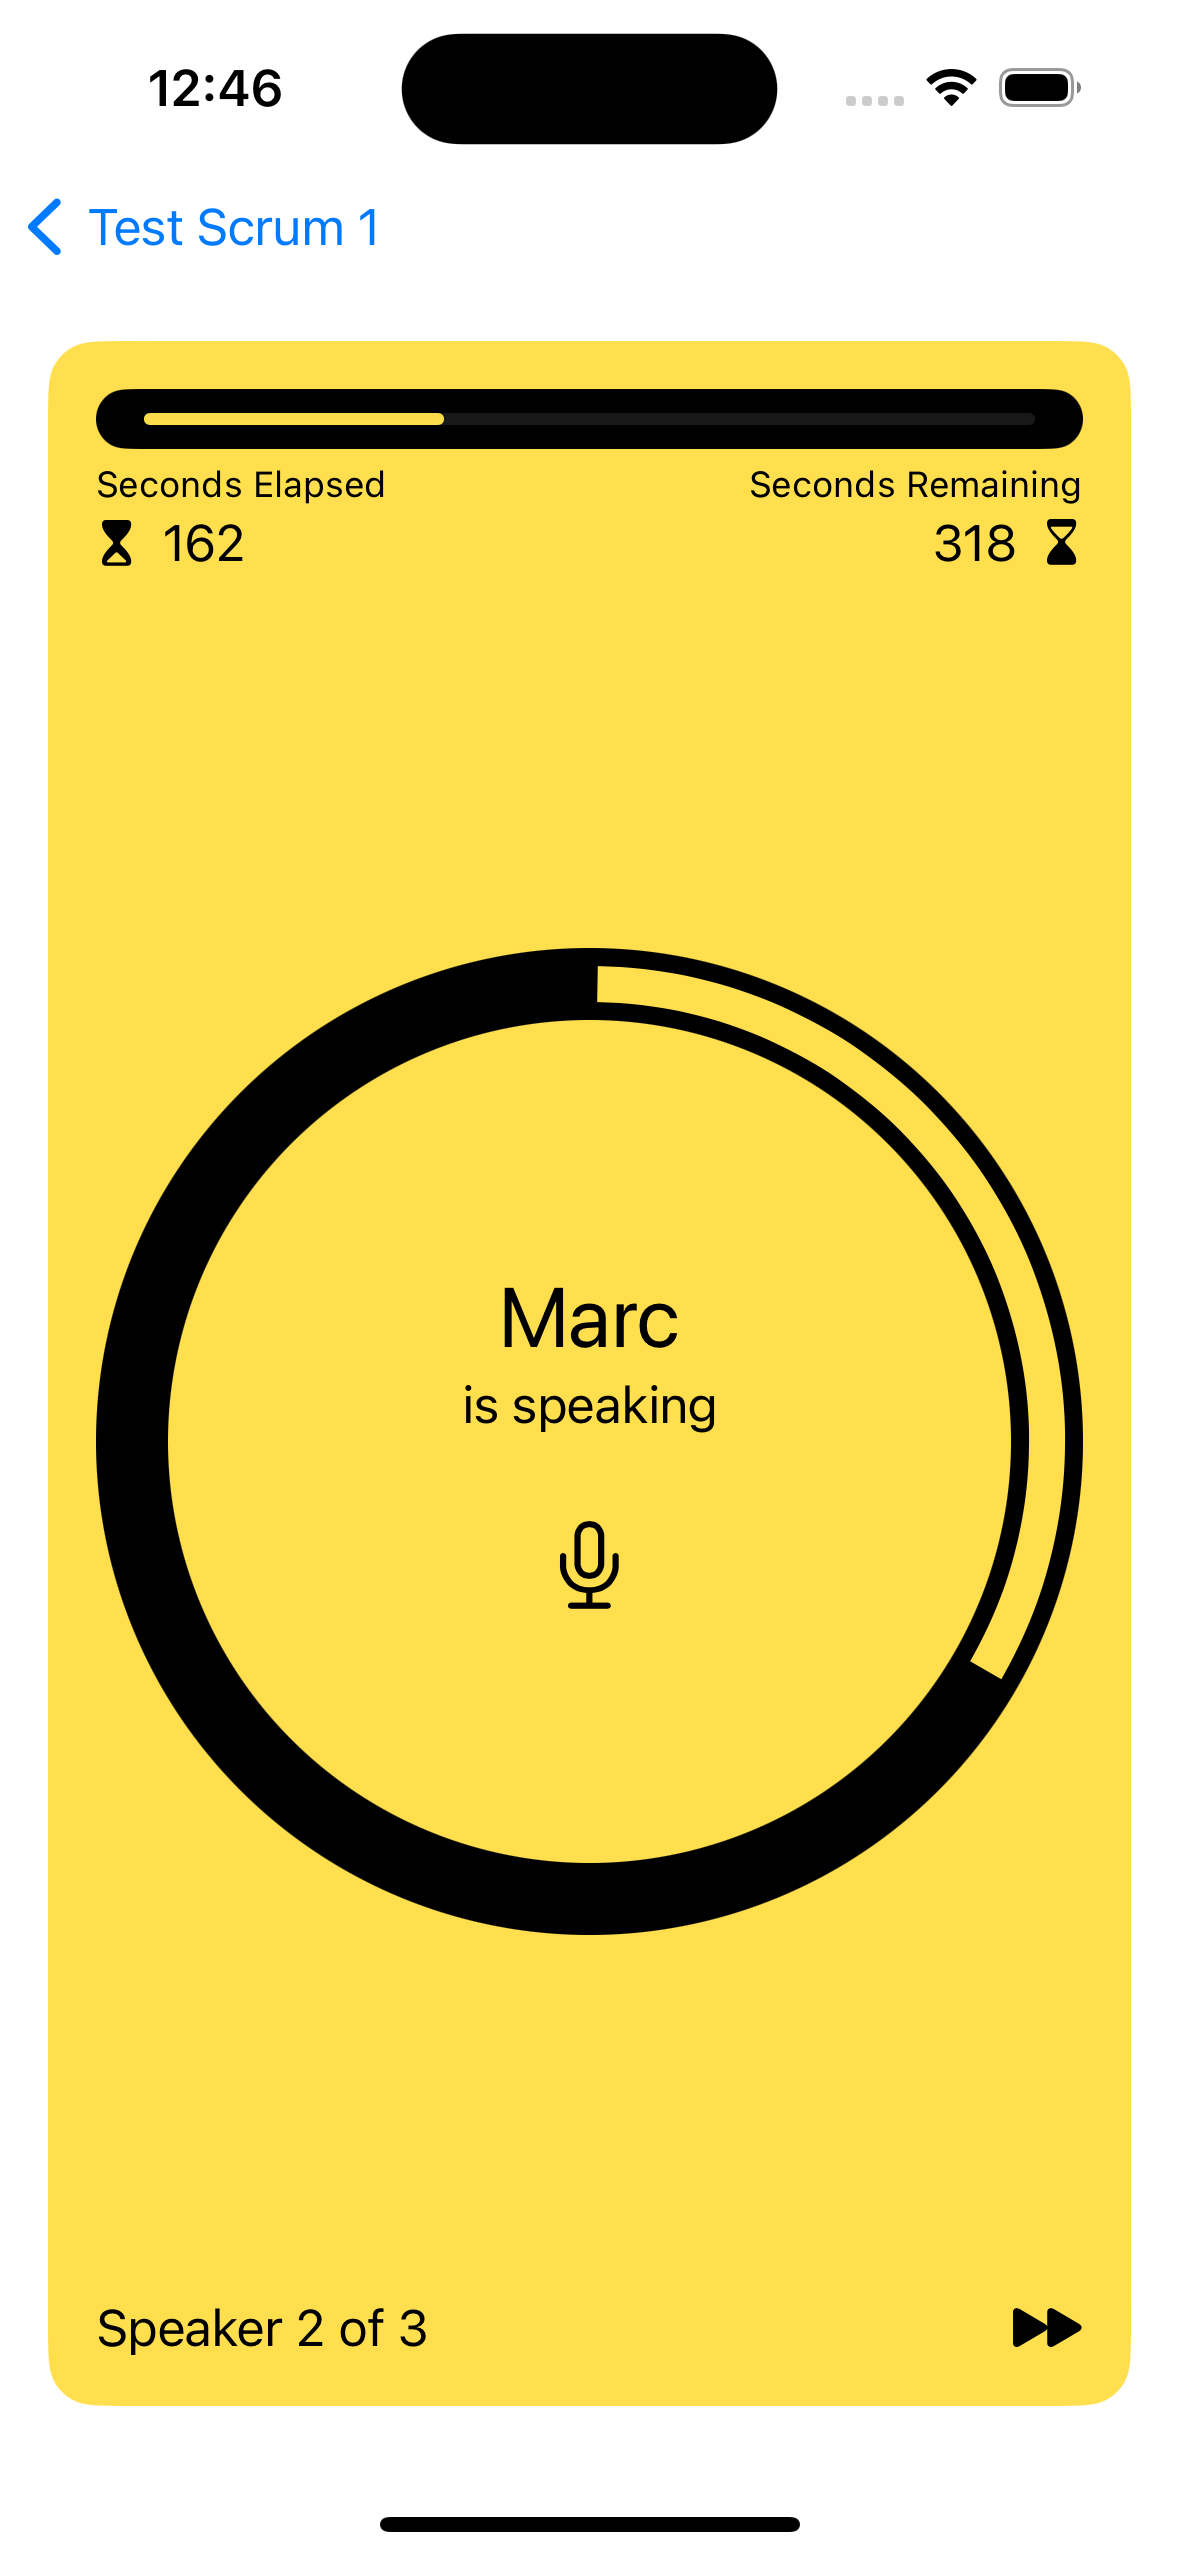
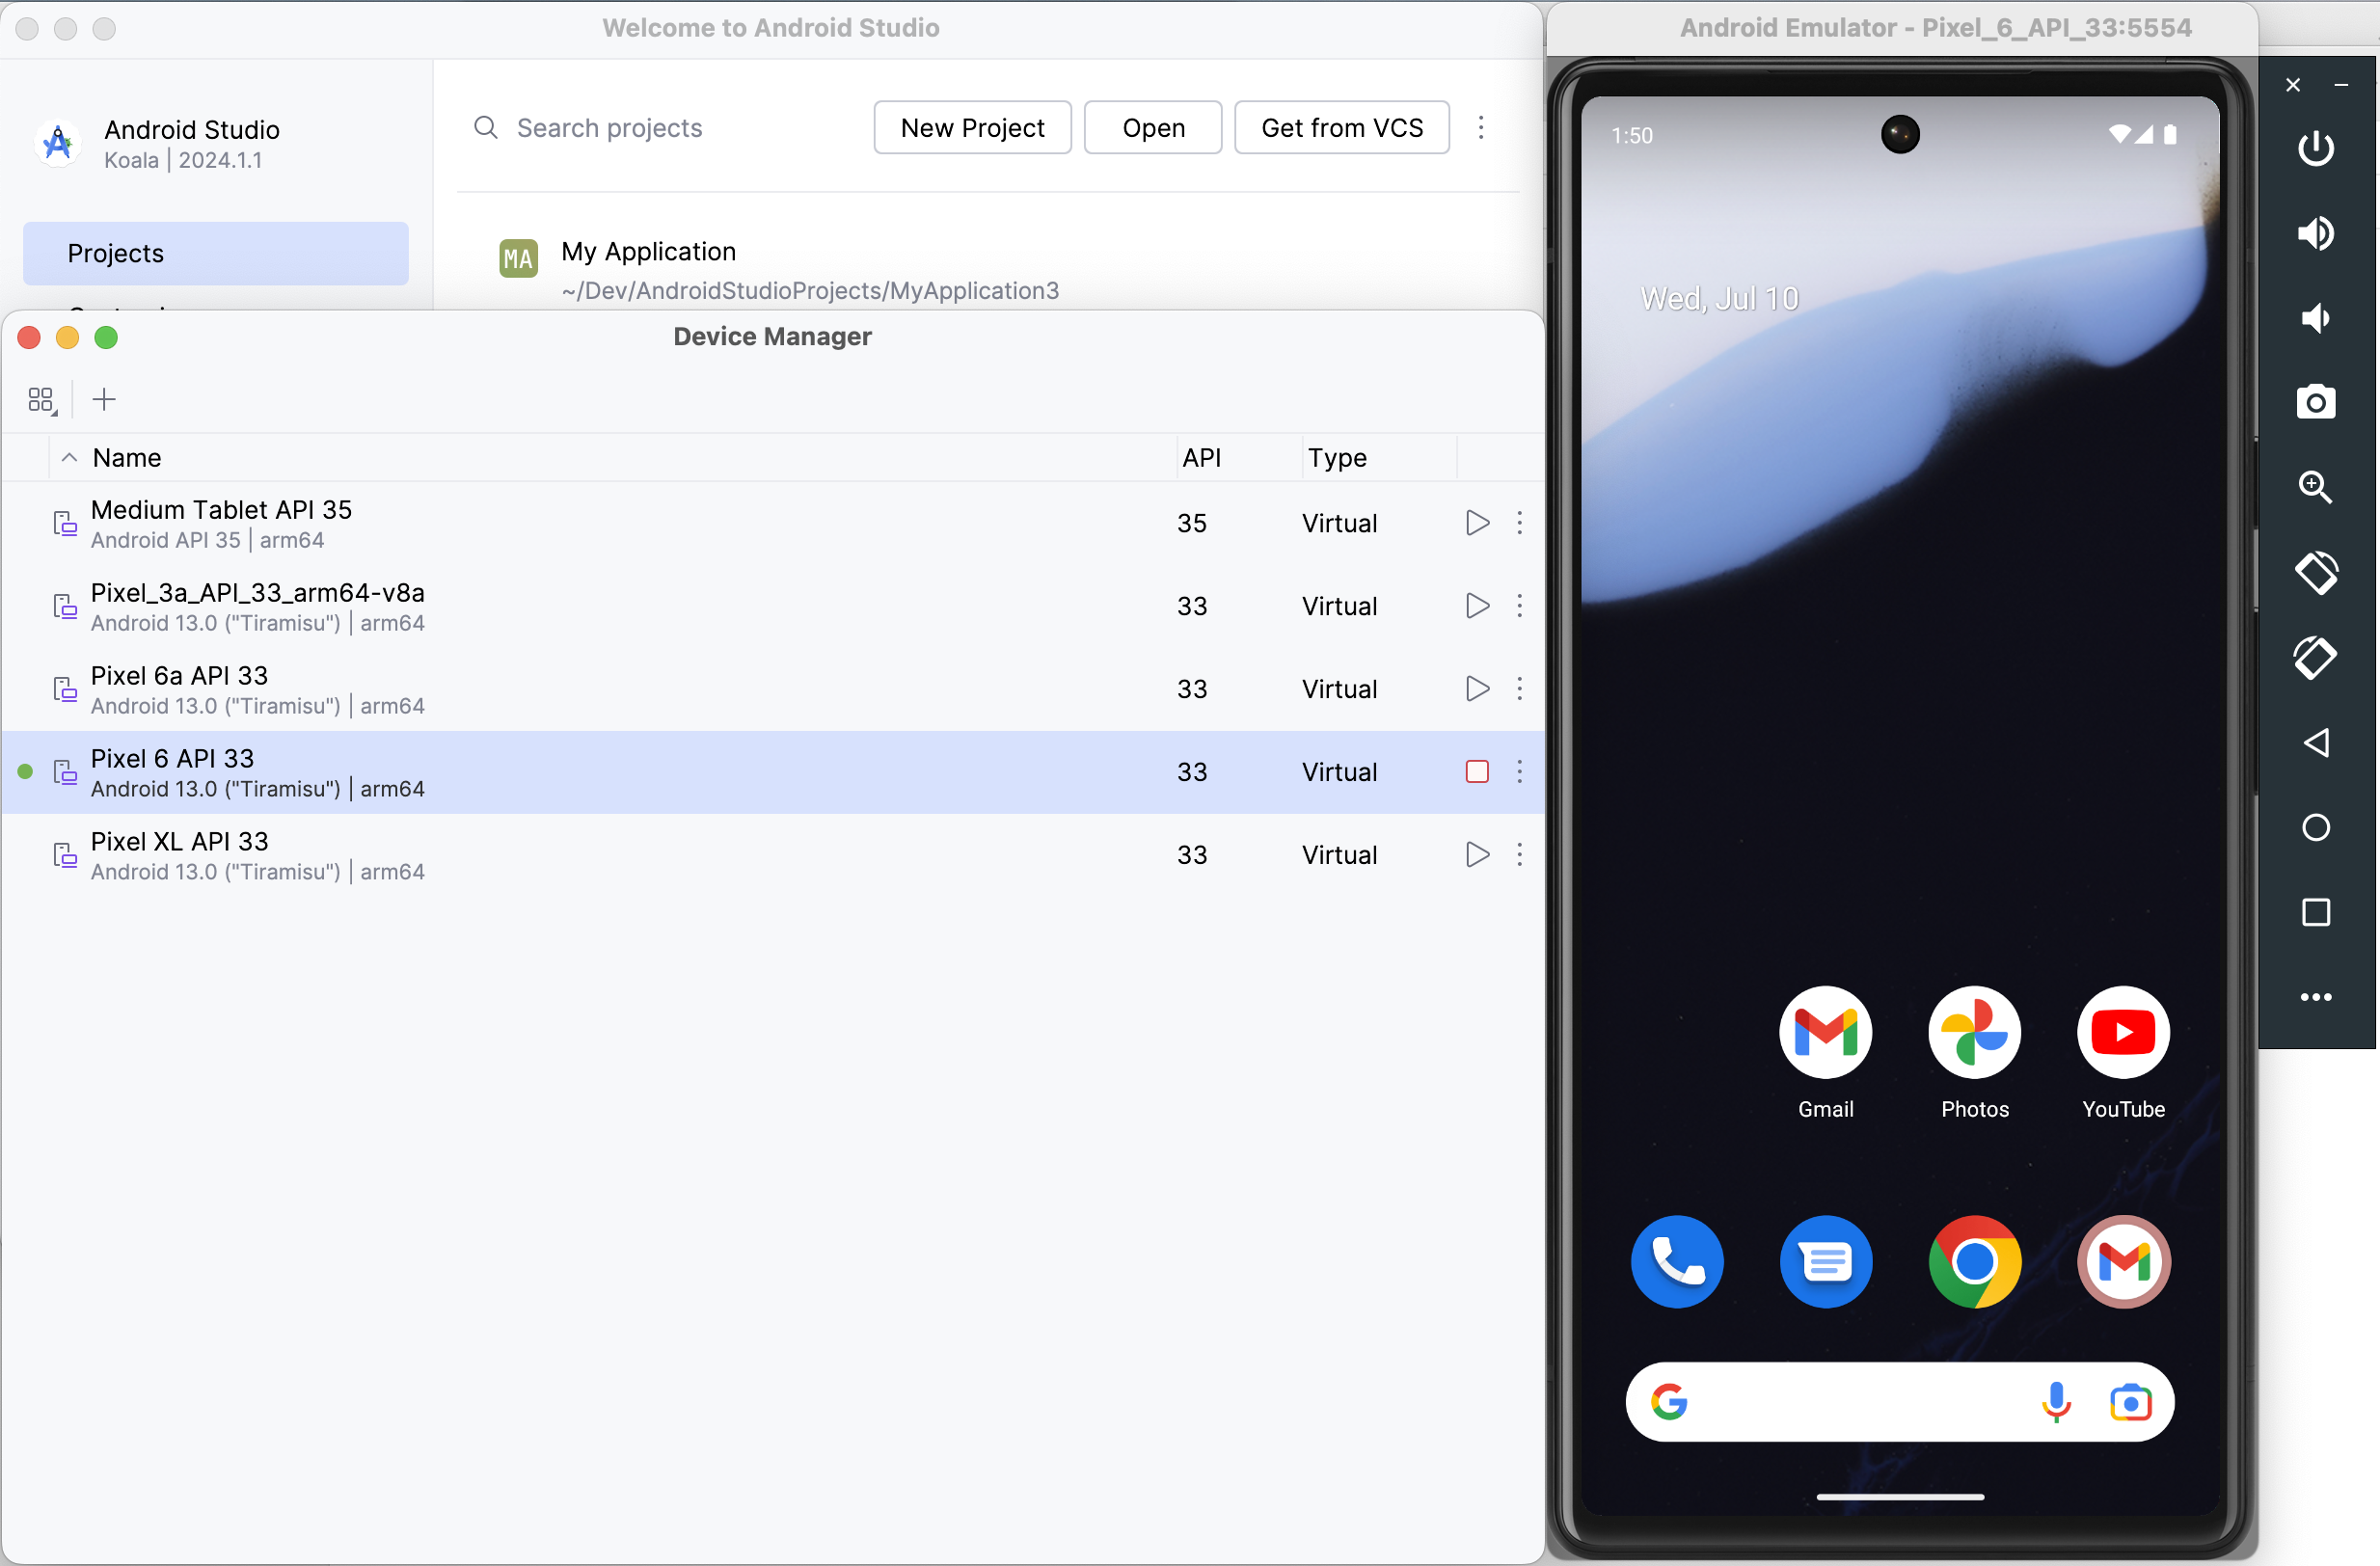
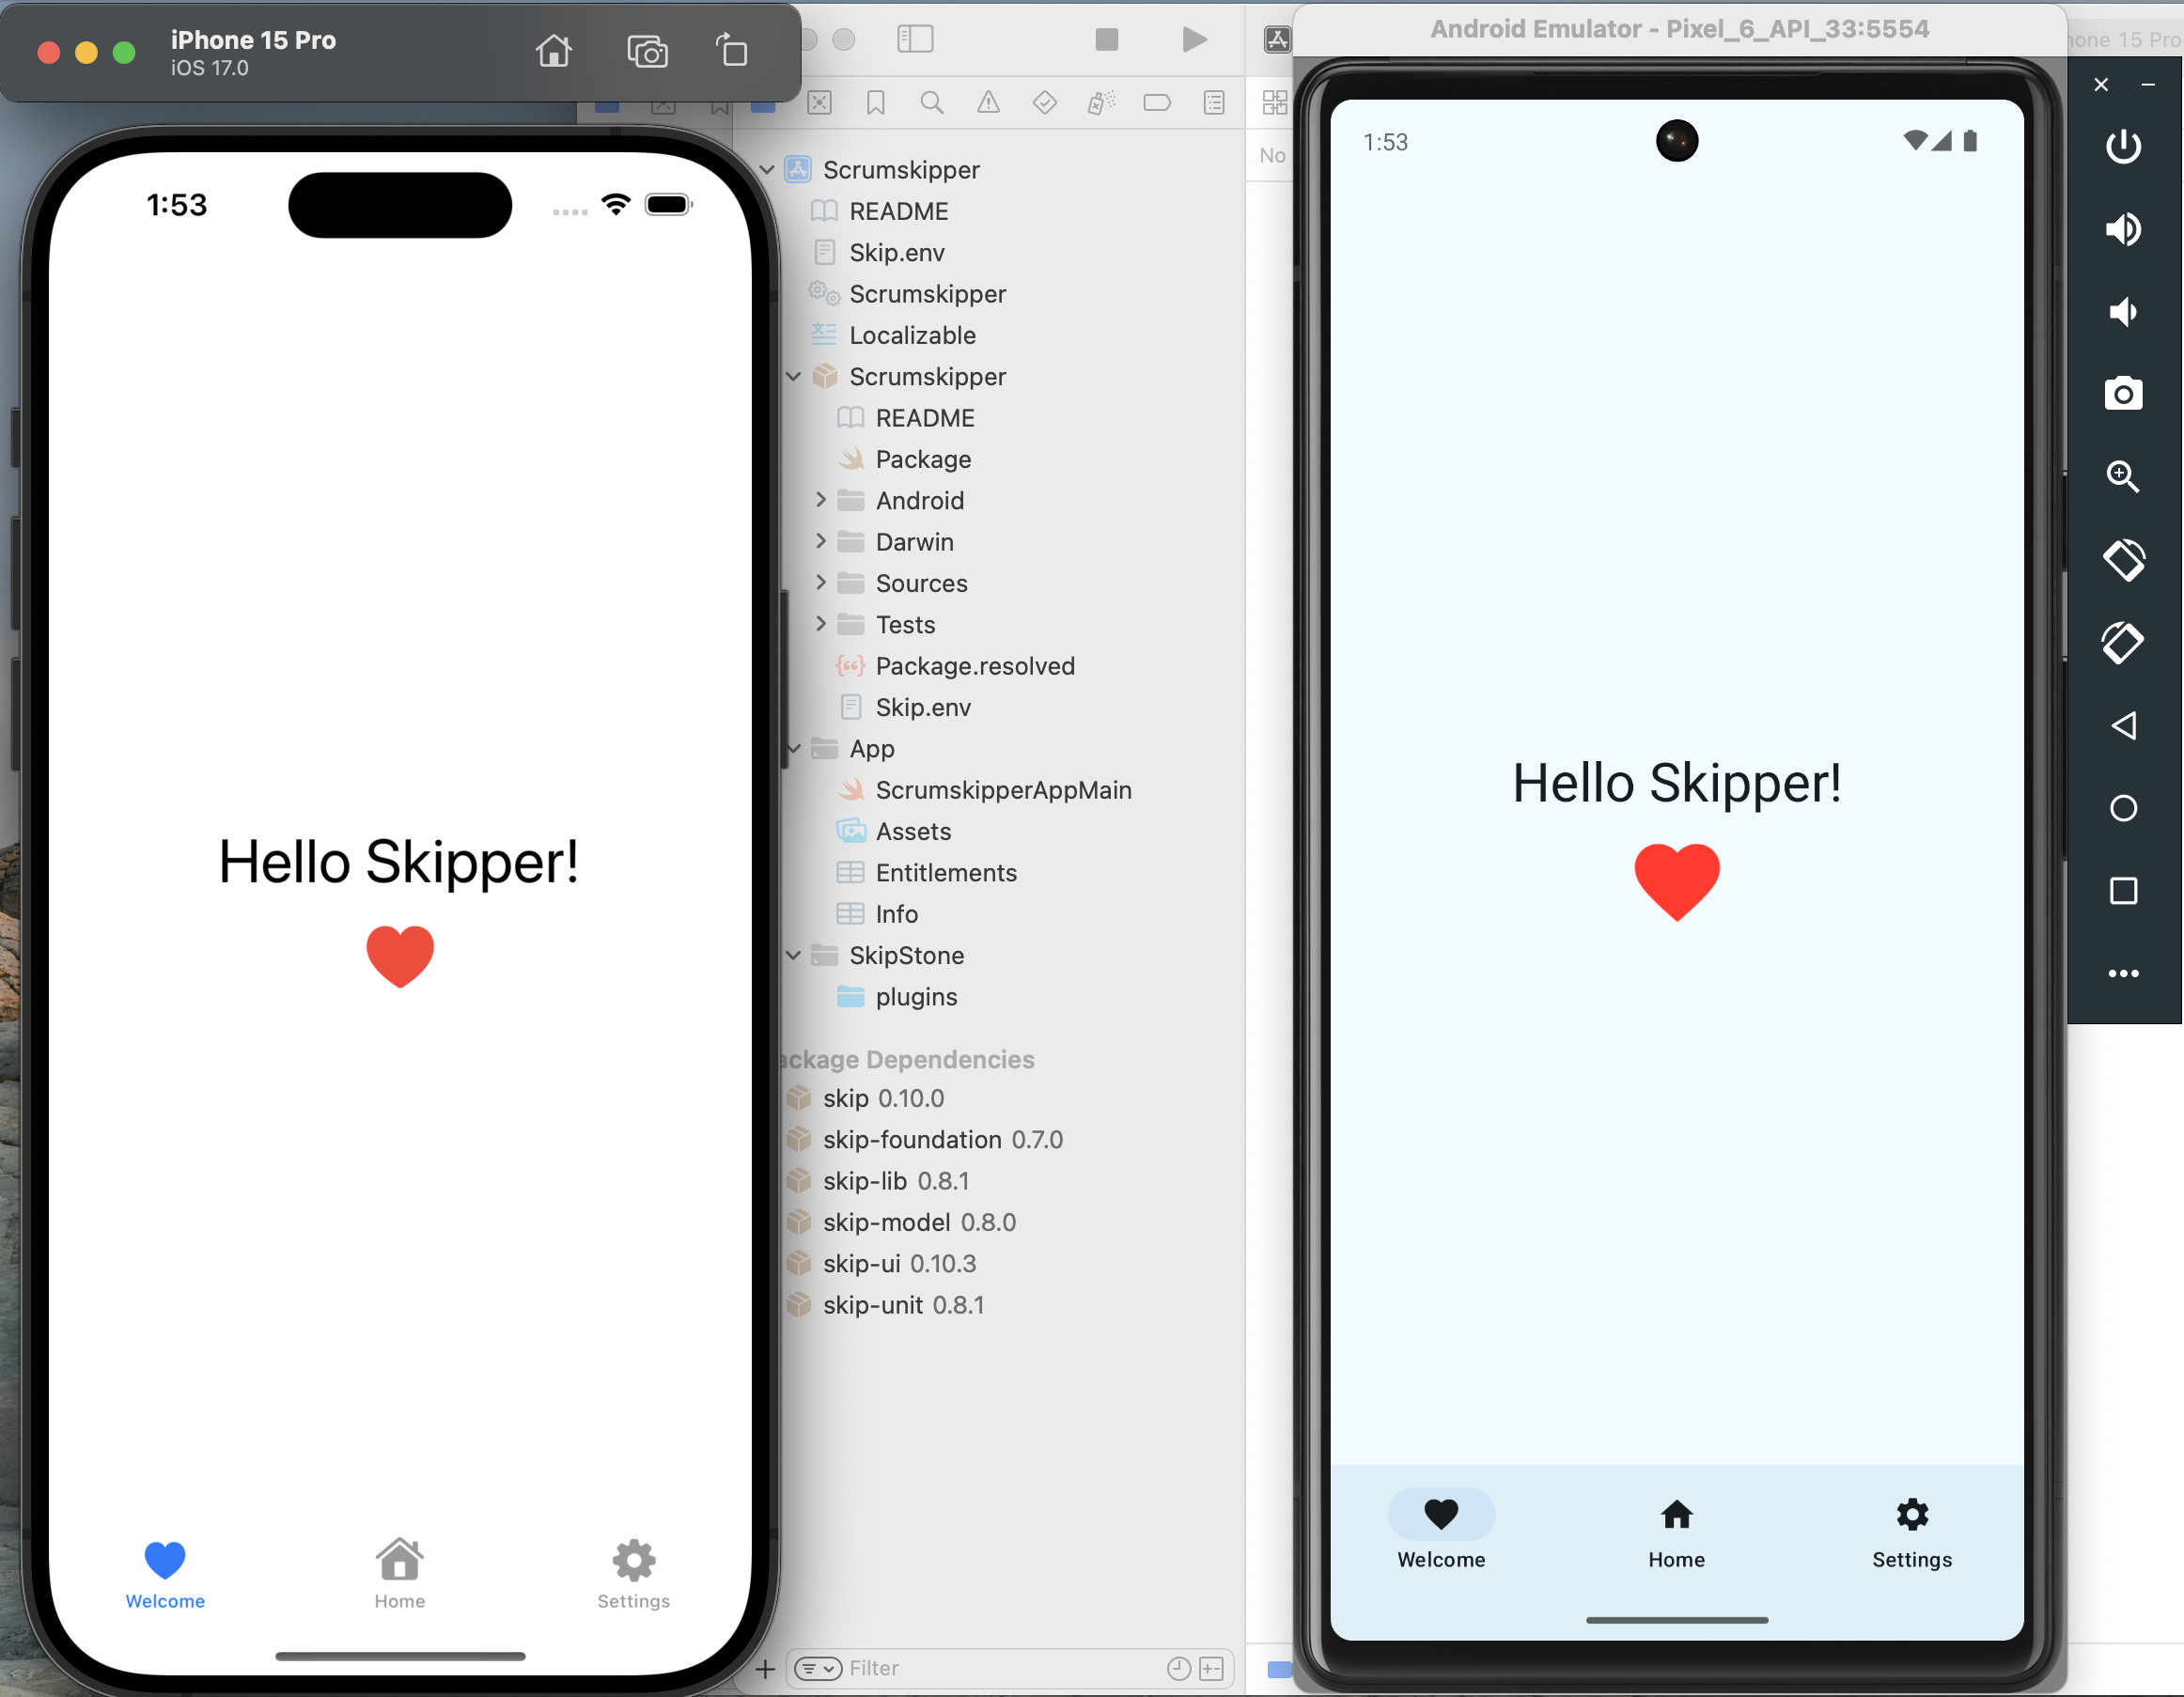
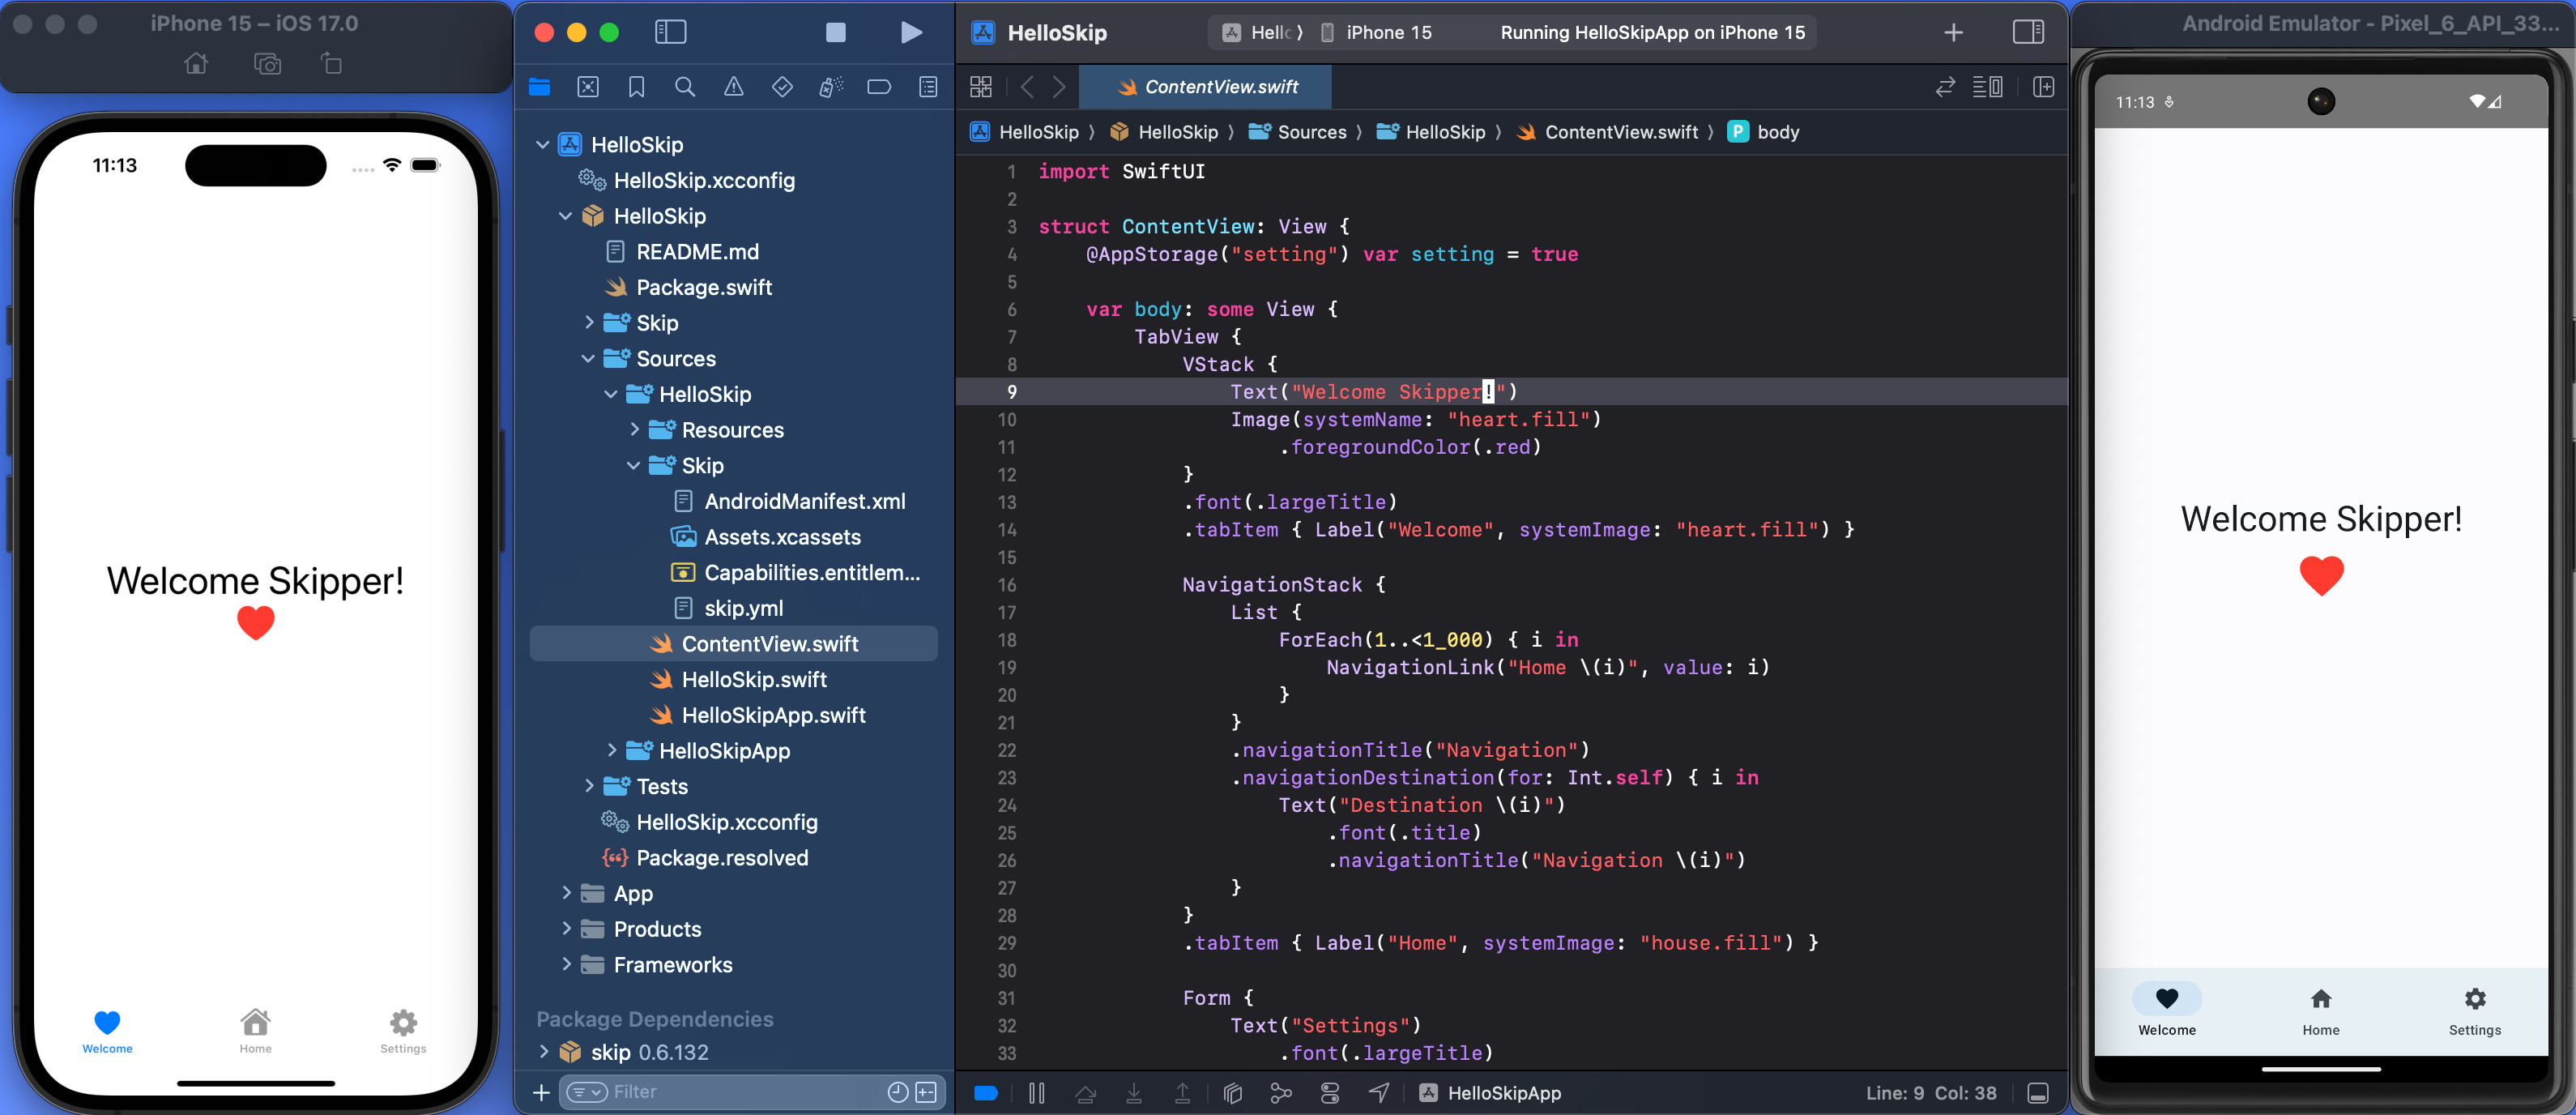
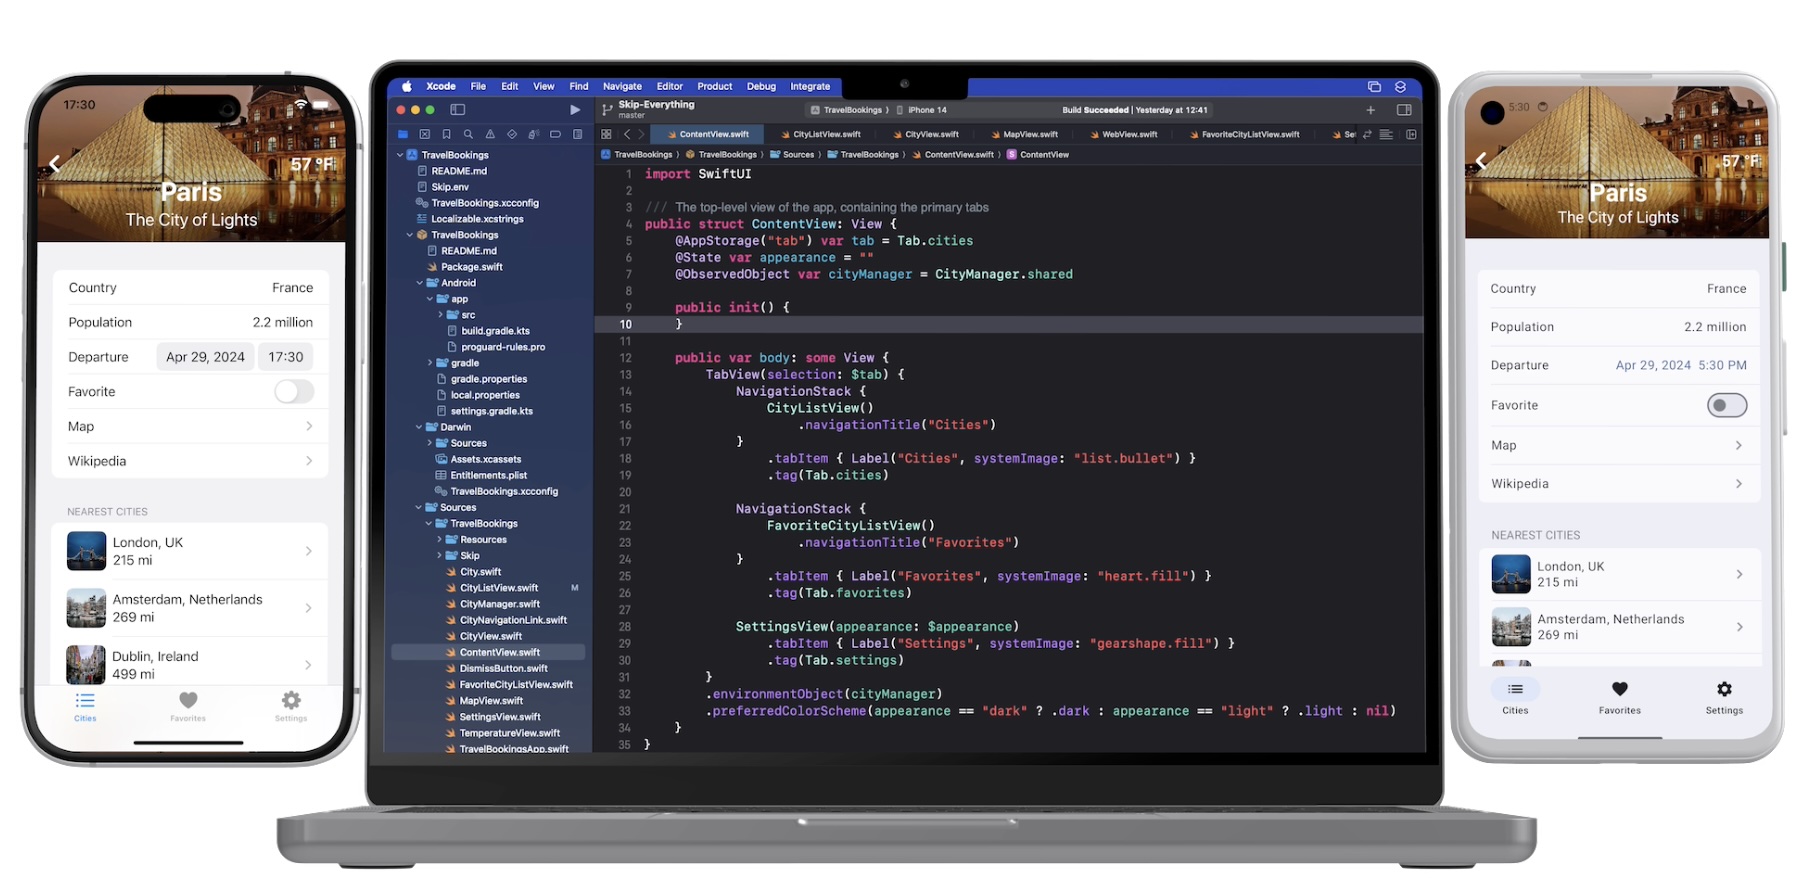
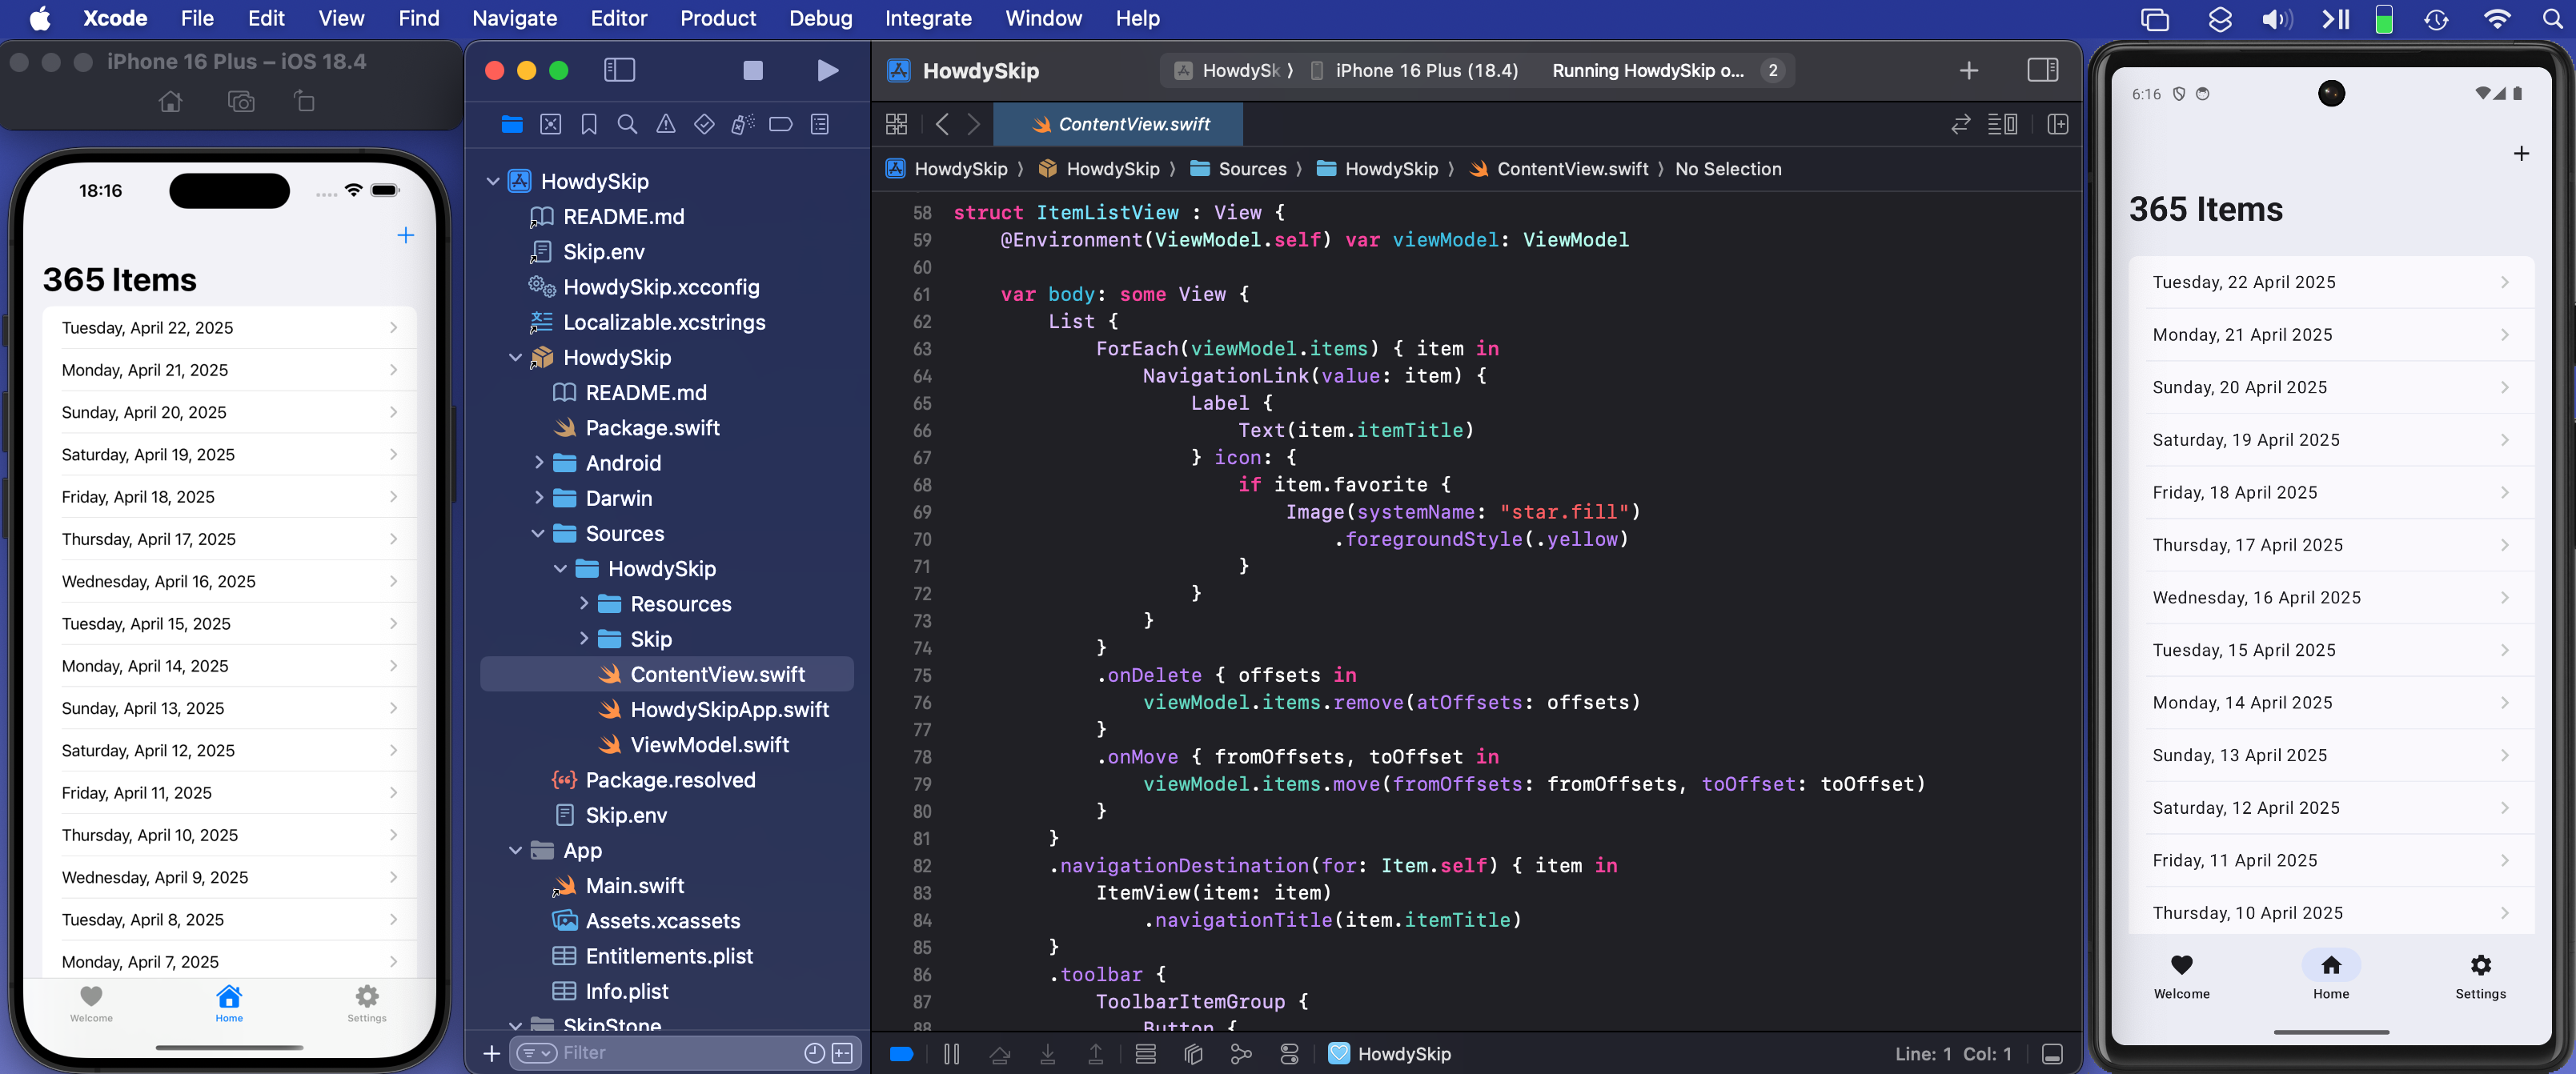
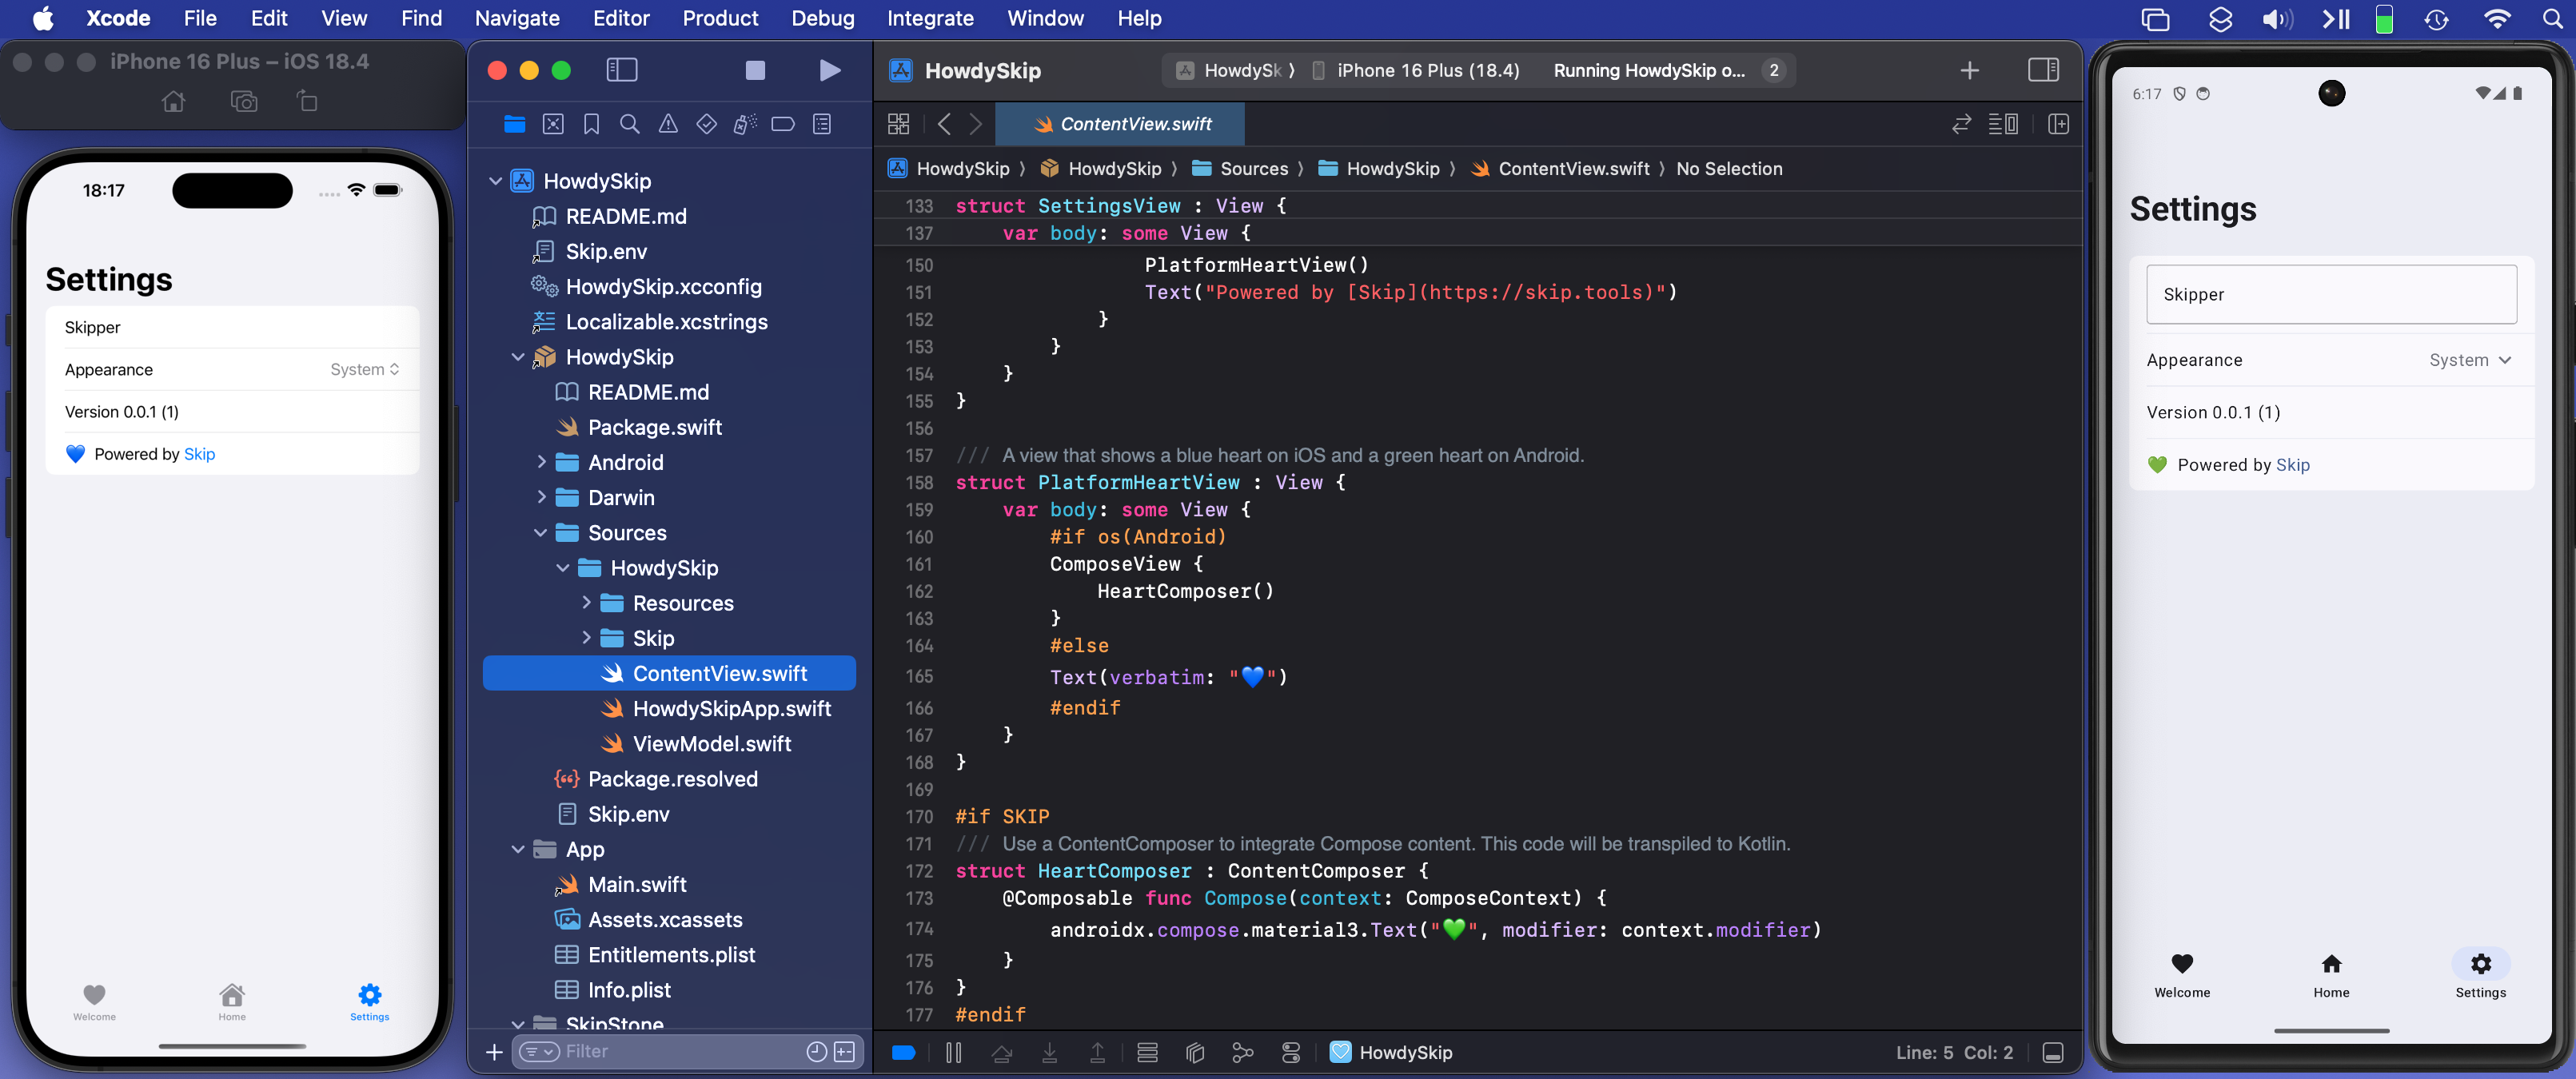
Section titled “Native Swift on Android Becomes Officially Supported”The highlight of 2025 by far was the official release of the Swift SDK for Android on swift.org, along with Skip’s support in the form of Skip Fuse. Prior to the advent of Skip Fuse, Skip operated solely in transpiled mode (now called “Skip Lite”), which converts Swift source code to Kotlin. Skip Fuse, on the other hand, builds natively-compiled Swift targeting the Android platform, which both eliminates the limitations imposed by source transpilation, as well as unlocks the universe of thousands of native Swift packages that are compatible with the Android platform.
Interest in the Swift SDK for Android has exploded since the initial announcement ↗ and follow-up ↗ blog posts on swift.org. We at Skip are proud to be founding members of the Swift Android workgroup ↗, and we are committed to the platform’s enduring stability and support. And where the scope of the workgroup ends, we complete the picture by providing the tooling, libraries, and support needed to build universal apps from a single Swift codebase.
Liquid Glass and the Wisdom of Staying Native
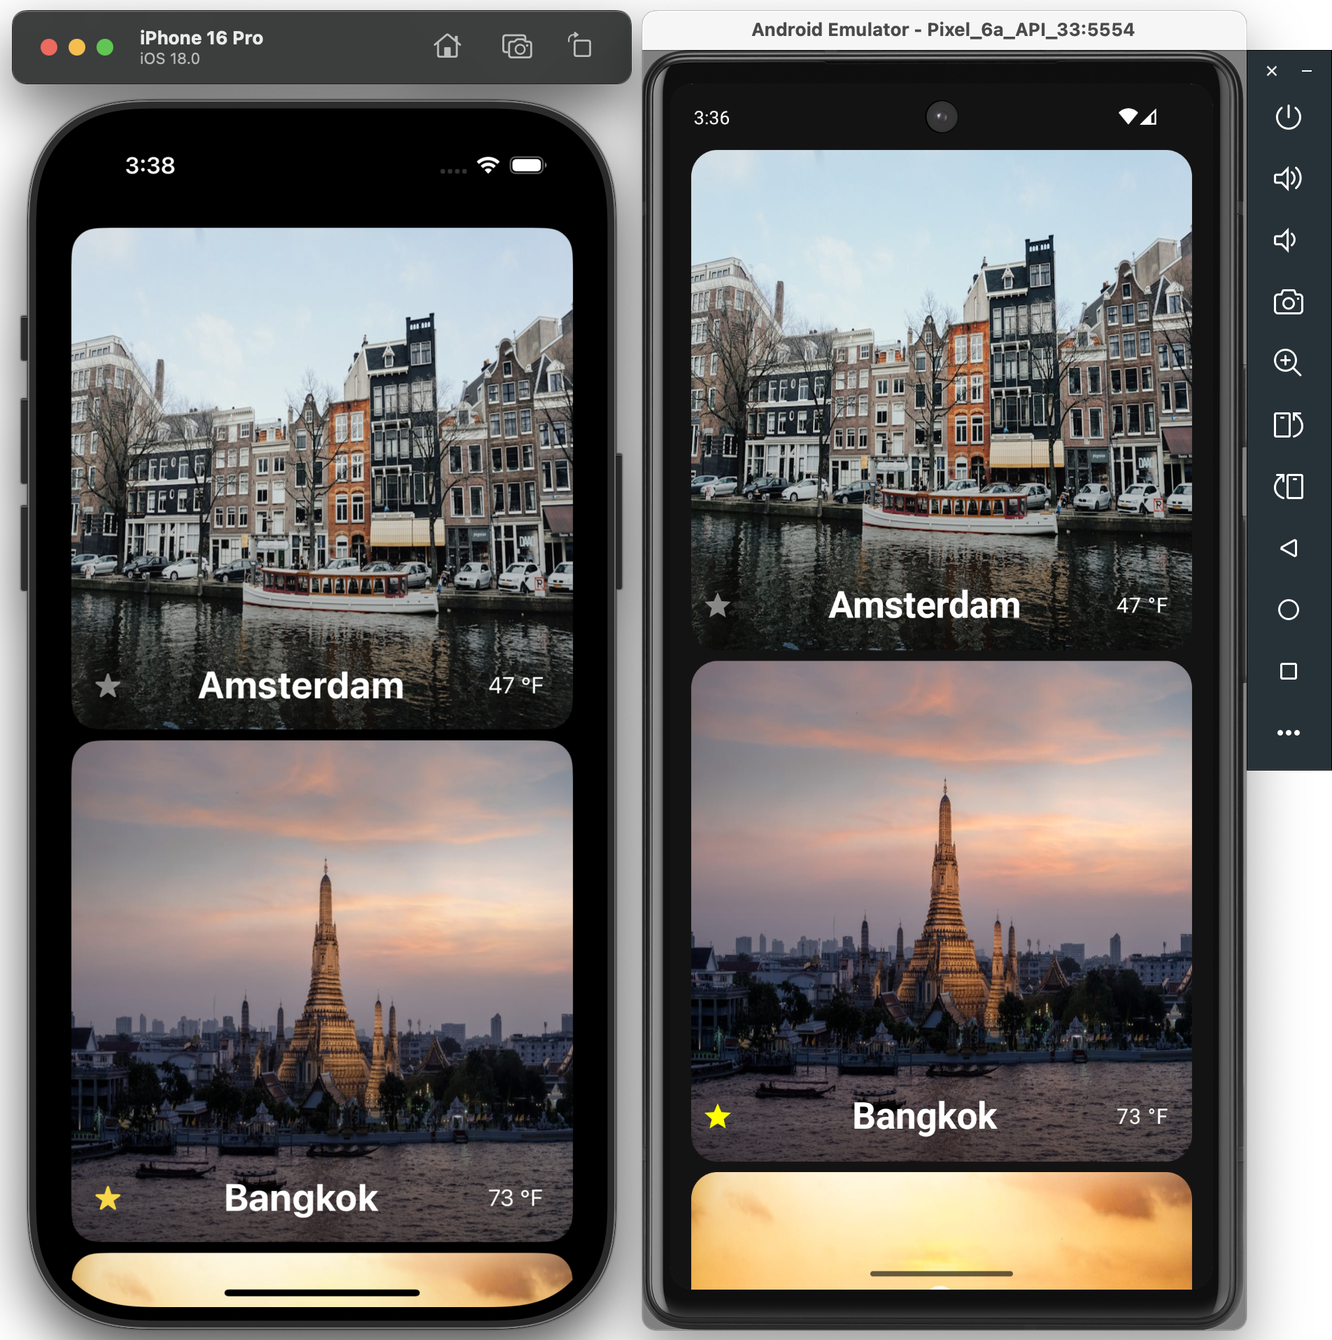
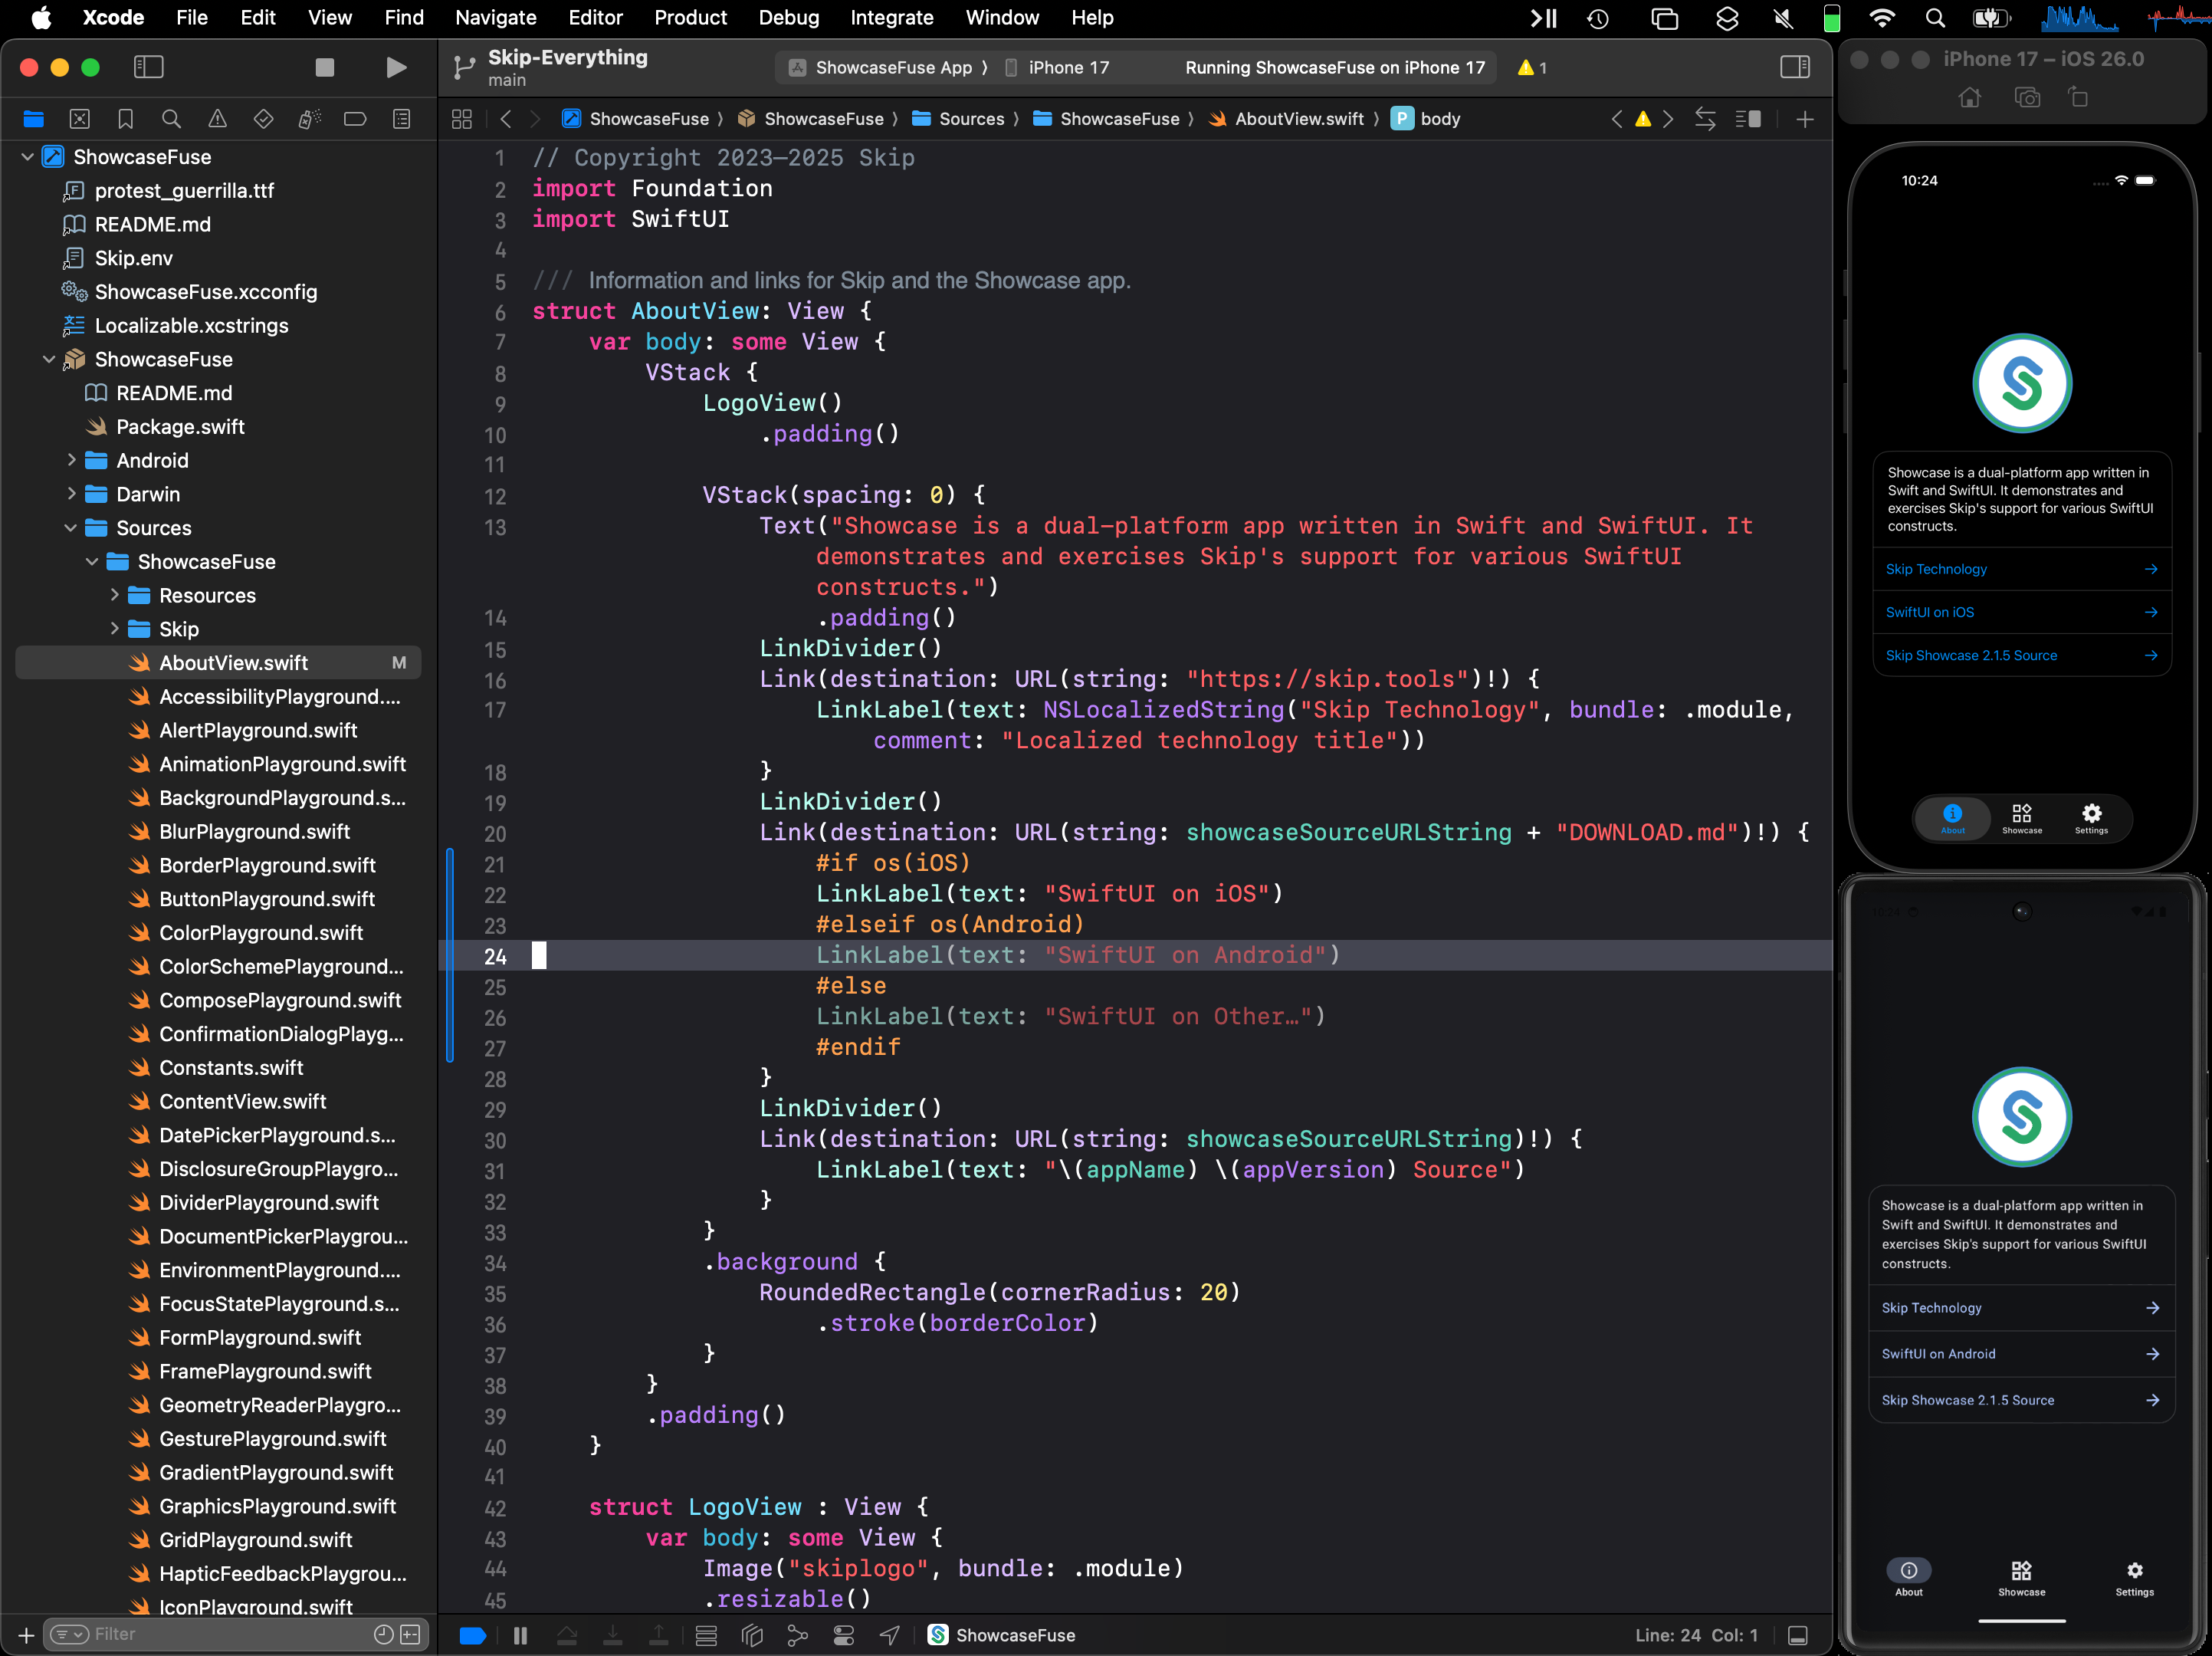
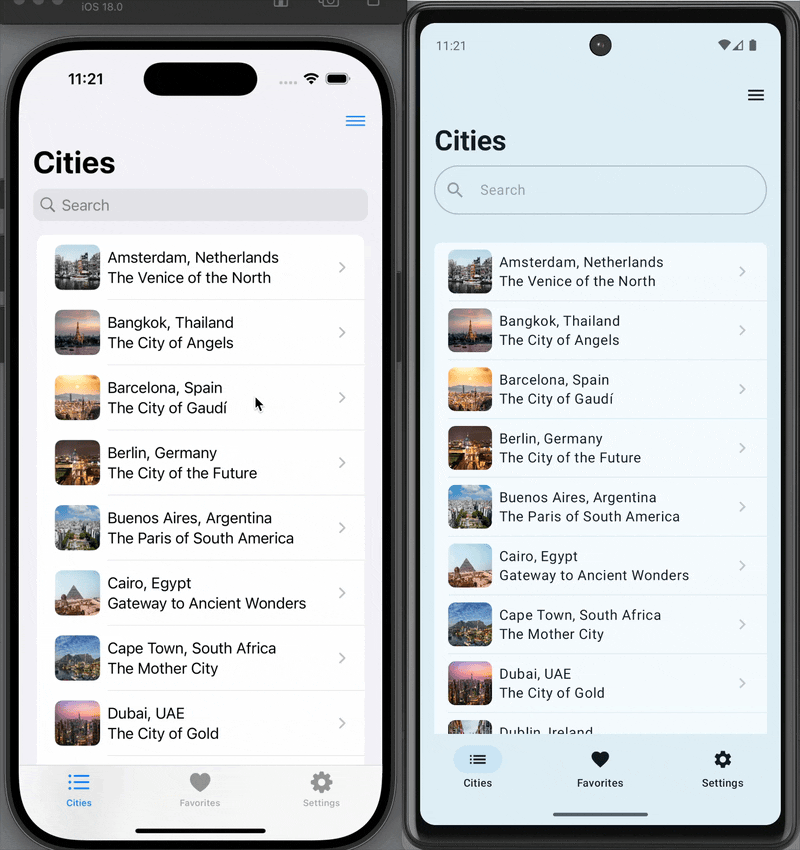
Section titled “Liquid Glass and the Wisdom of Staying Native”The launch of iOS 26 and the emergence of Liquid Glass as the new interface style was a pivotal moment for the cross-platform app development technosphere, as well as a powerful validation of Skip’s core philosophy. From day one, Skip has avoided intermediating or re-implementing SwiftUI on iOS or other Apple platforms. By staying fully native, Skip was able to support Liquid Glass on Day 1, automatically benefiting every Skip-based app without rewrites or workarounds (see our blog post on the topic).
In contrast, other cross-platform toolkits — such as Flutter and Compose Multiplatform — have found themselves stranded, incapable of adopting Liquid Glass and stuck on the previous UI generation with their mimicked faux-native components. For iOS users, that means outdated interfaces and an exacerbation of an already uncanny-valley non-native experience. For developers, it means frustration, limitation, and an inability to achieve the highest-quality app experience that their businesses demand.
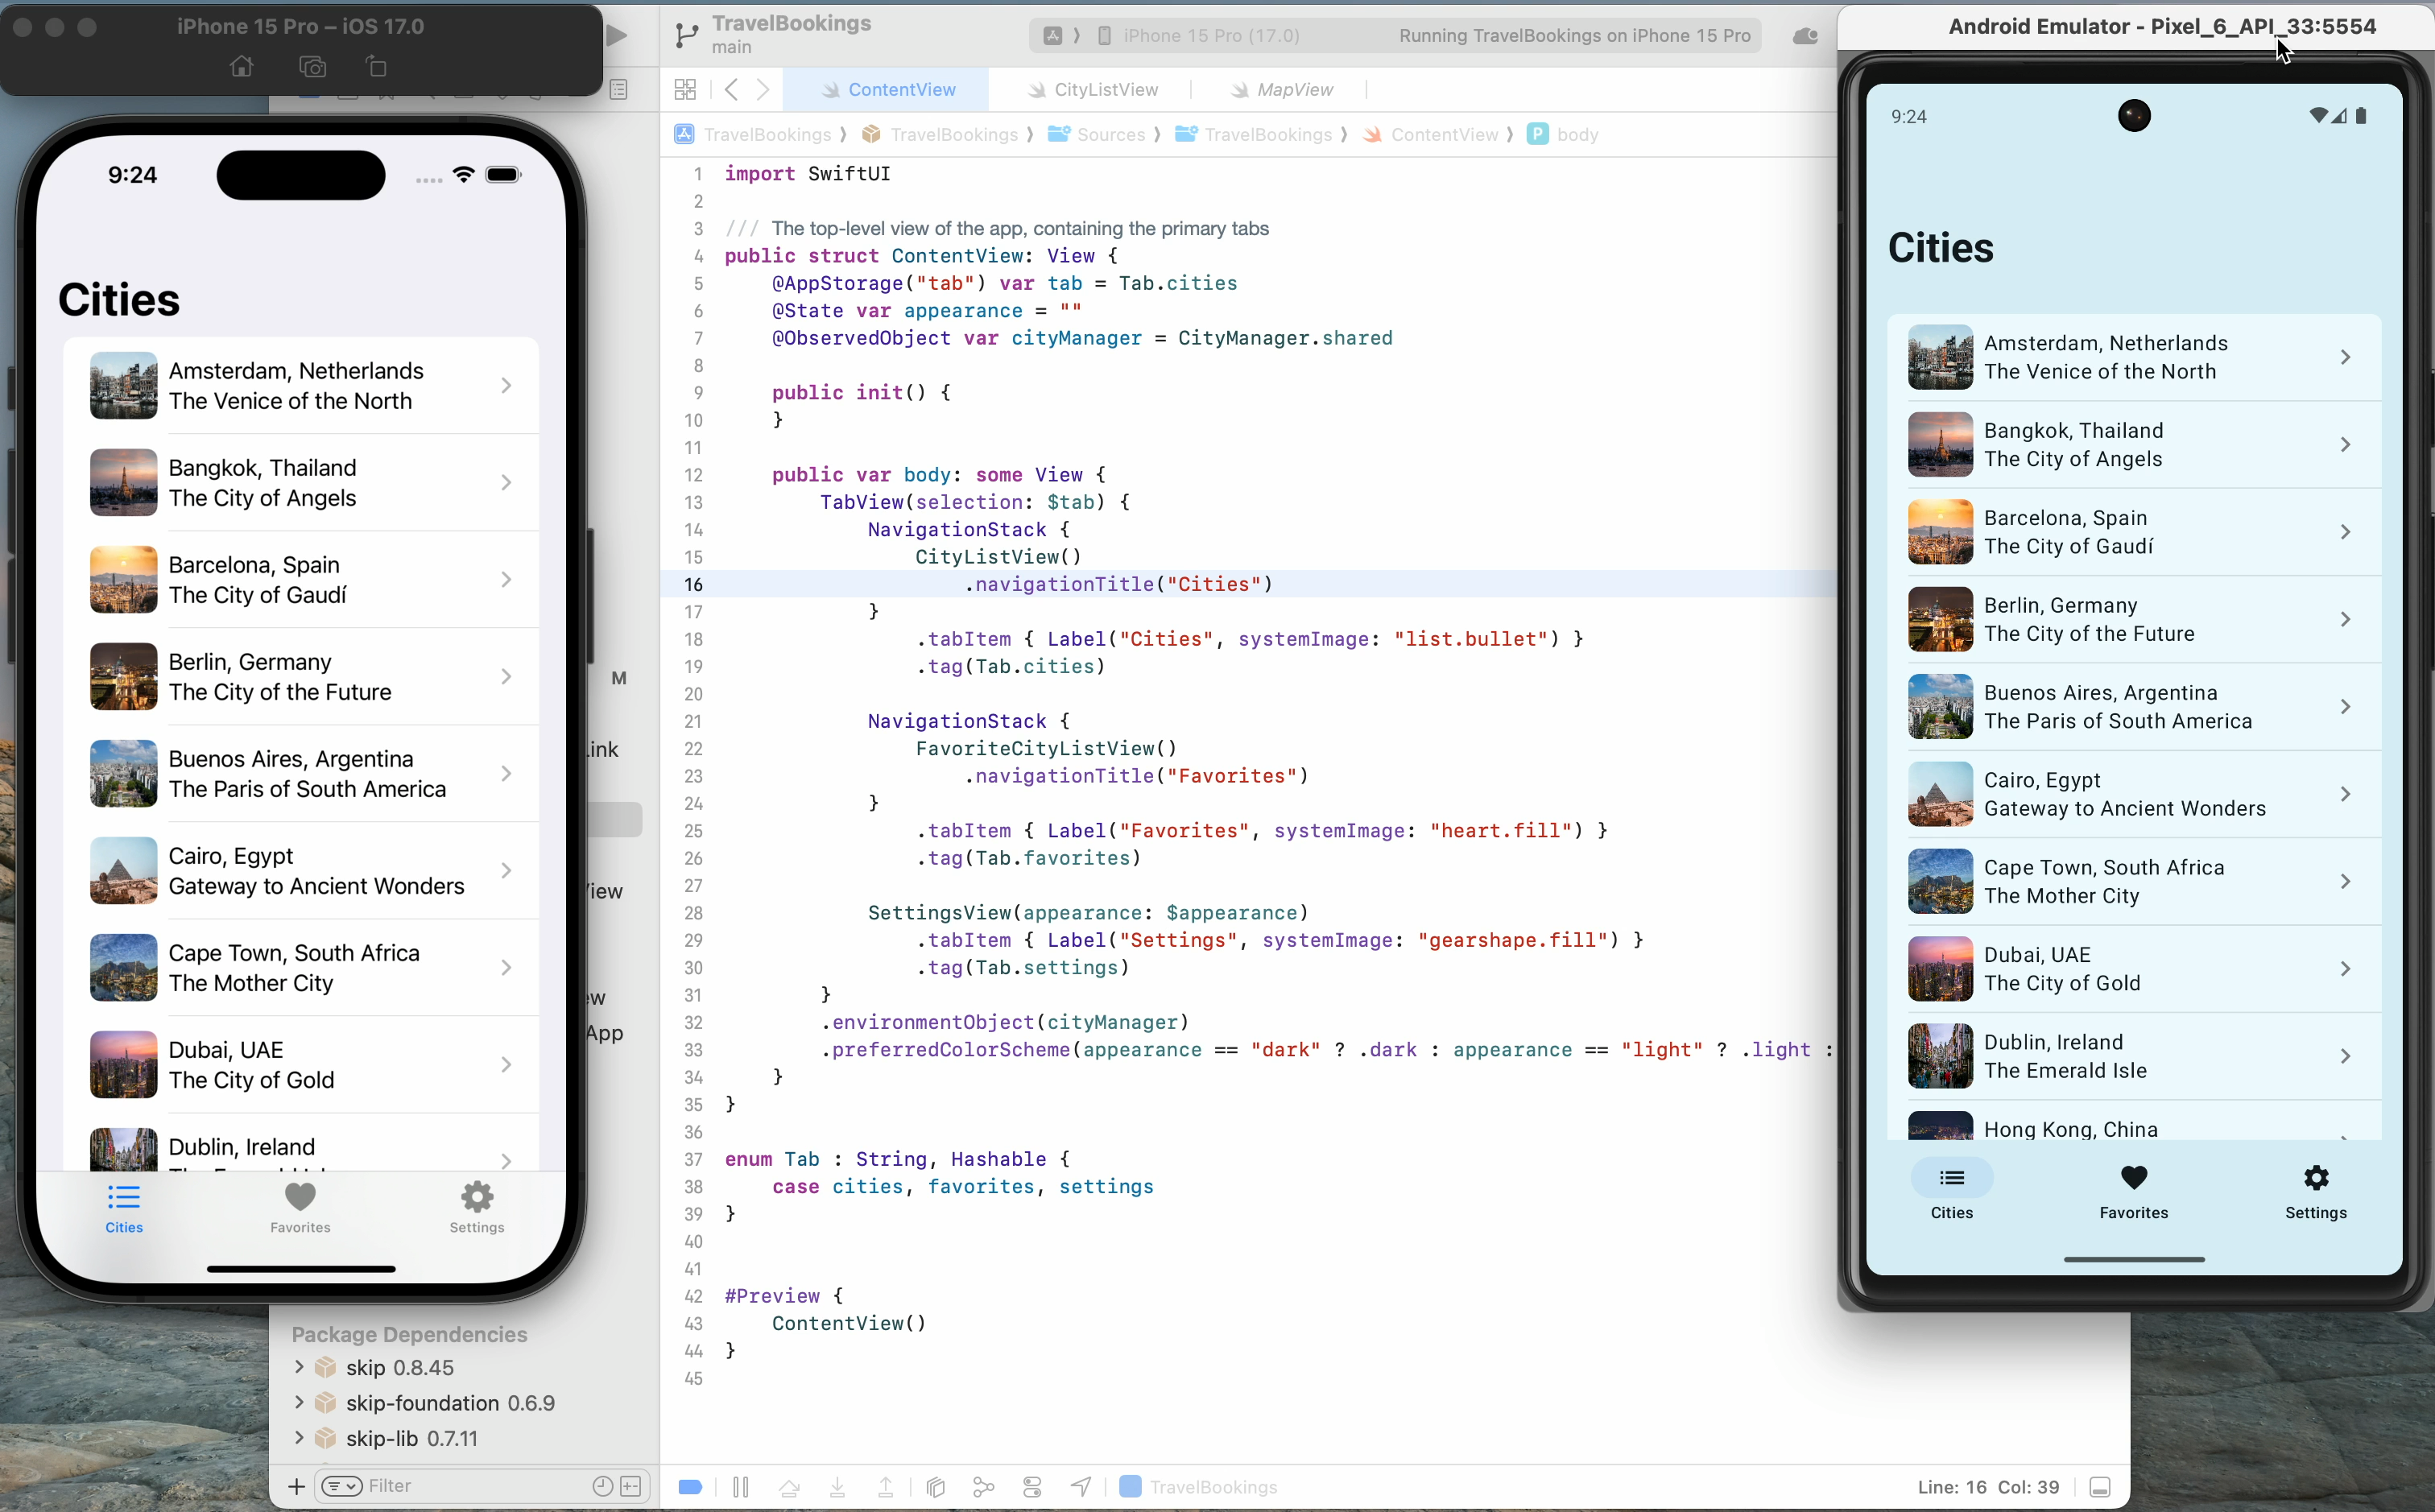
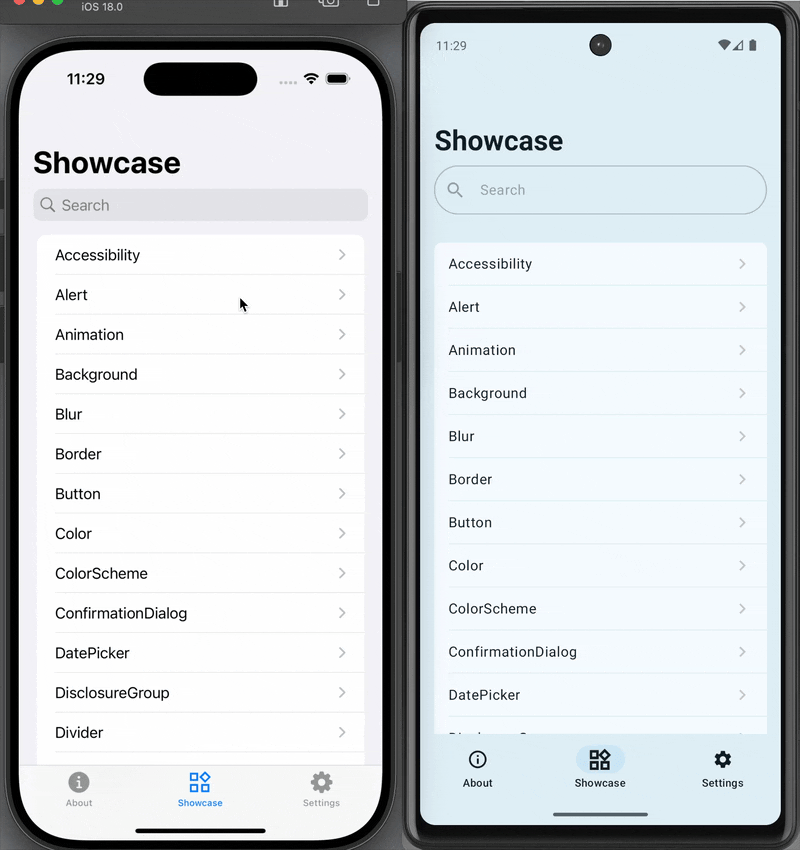
Skip’s belief is that by embracing native platforms wholly — not abstracting them away — is the best path forward, both for users and developers. SkipUI maps un-intermediated SwiftUI on iOS to native Jetpack Compose on Android, guaranteeing that the user experience is always performant and familiar to users of the respective platforms.
The Rapidly Expanding Skip Ecosystem
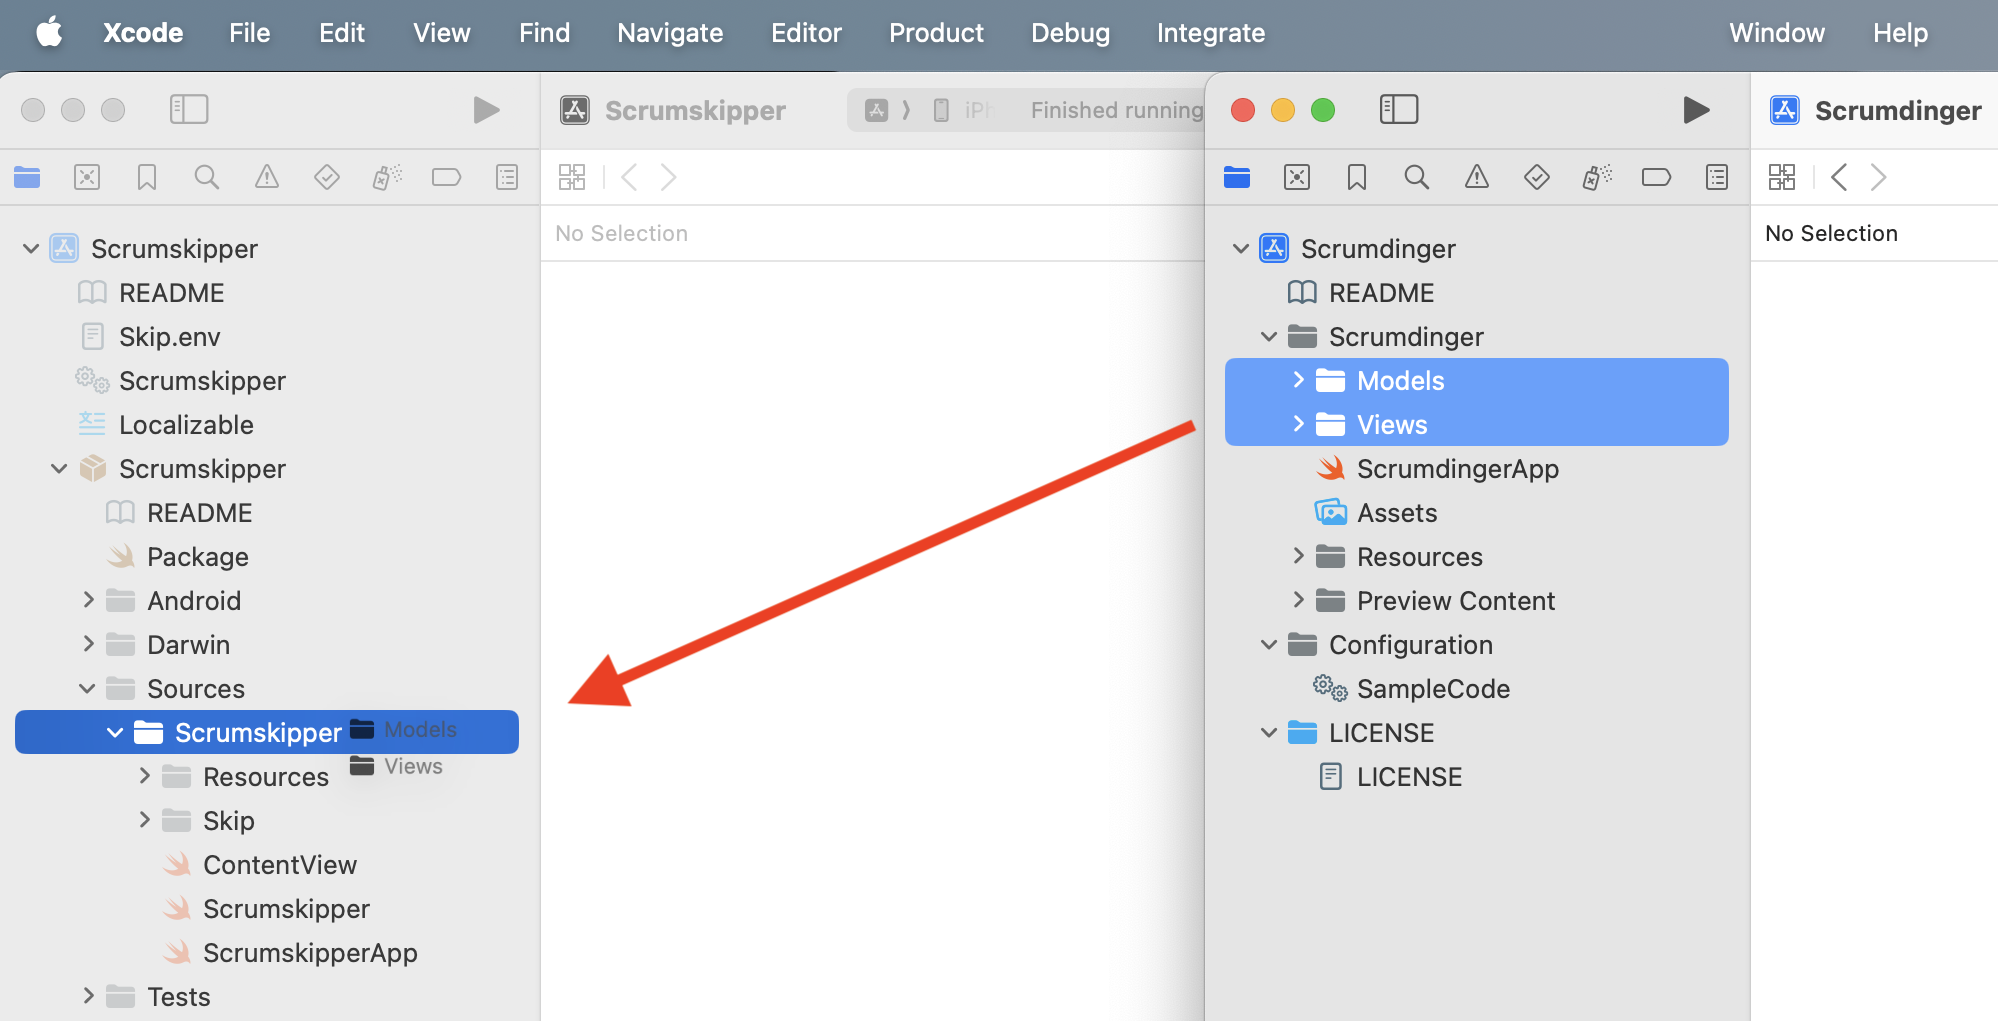
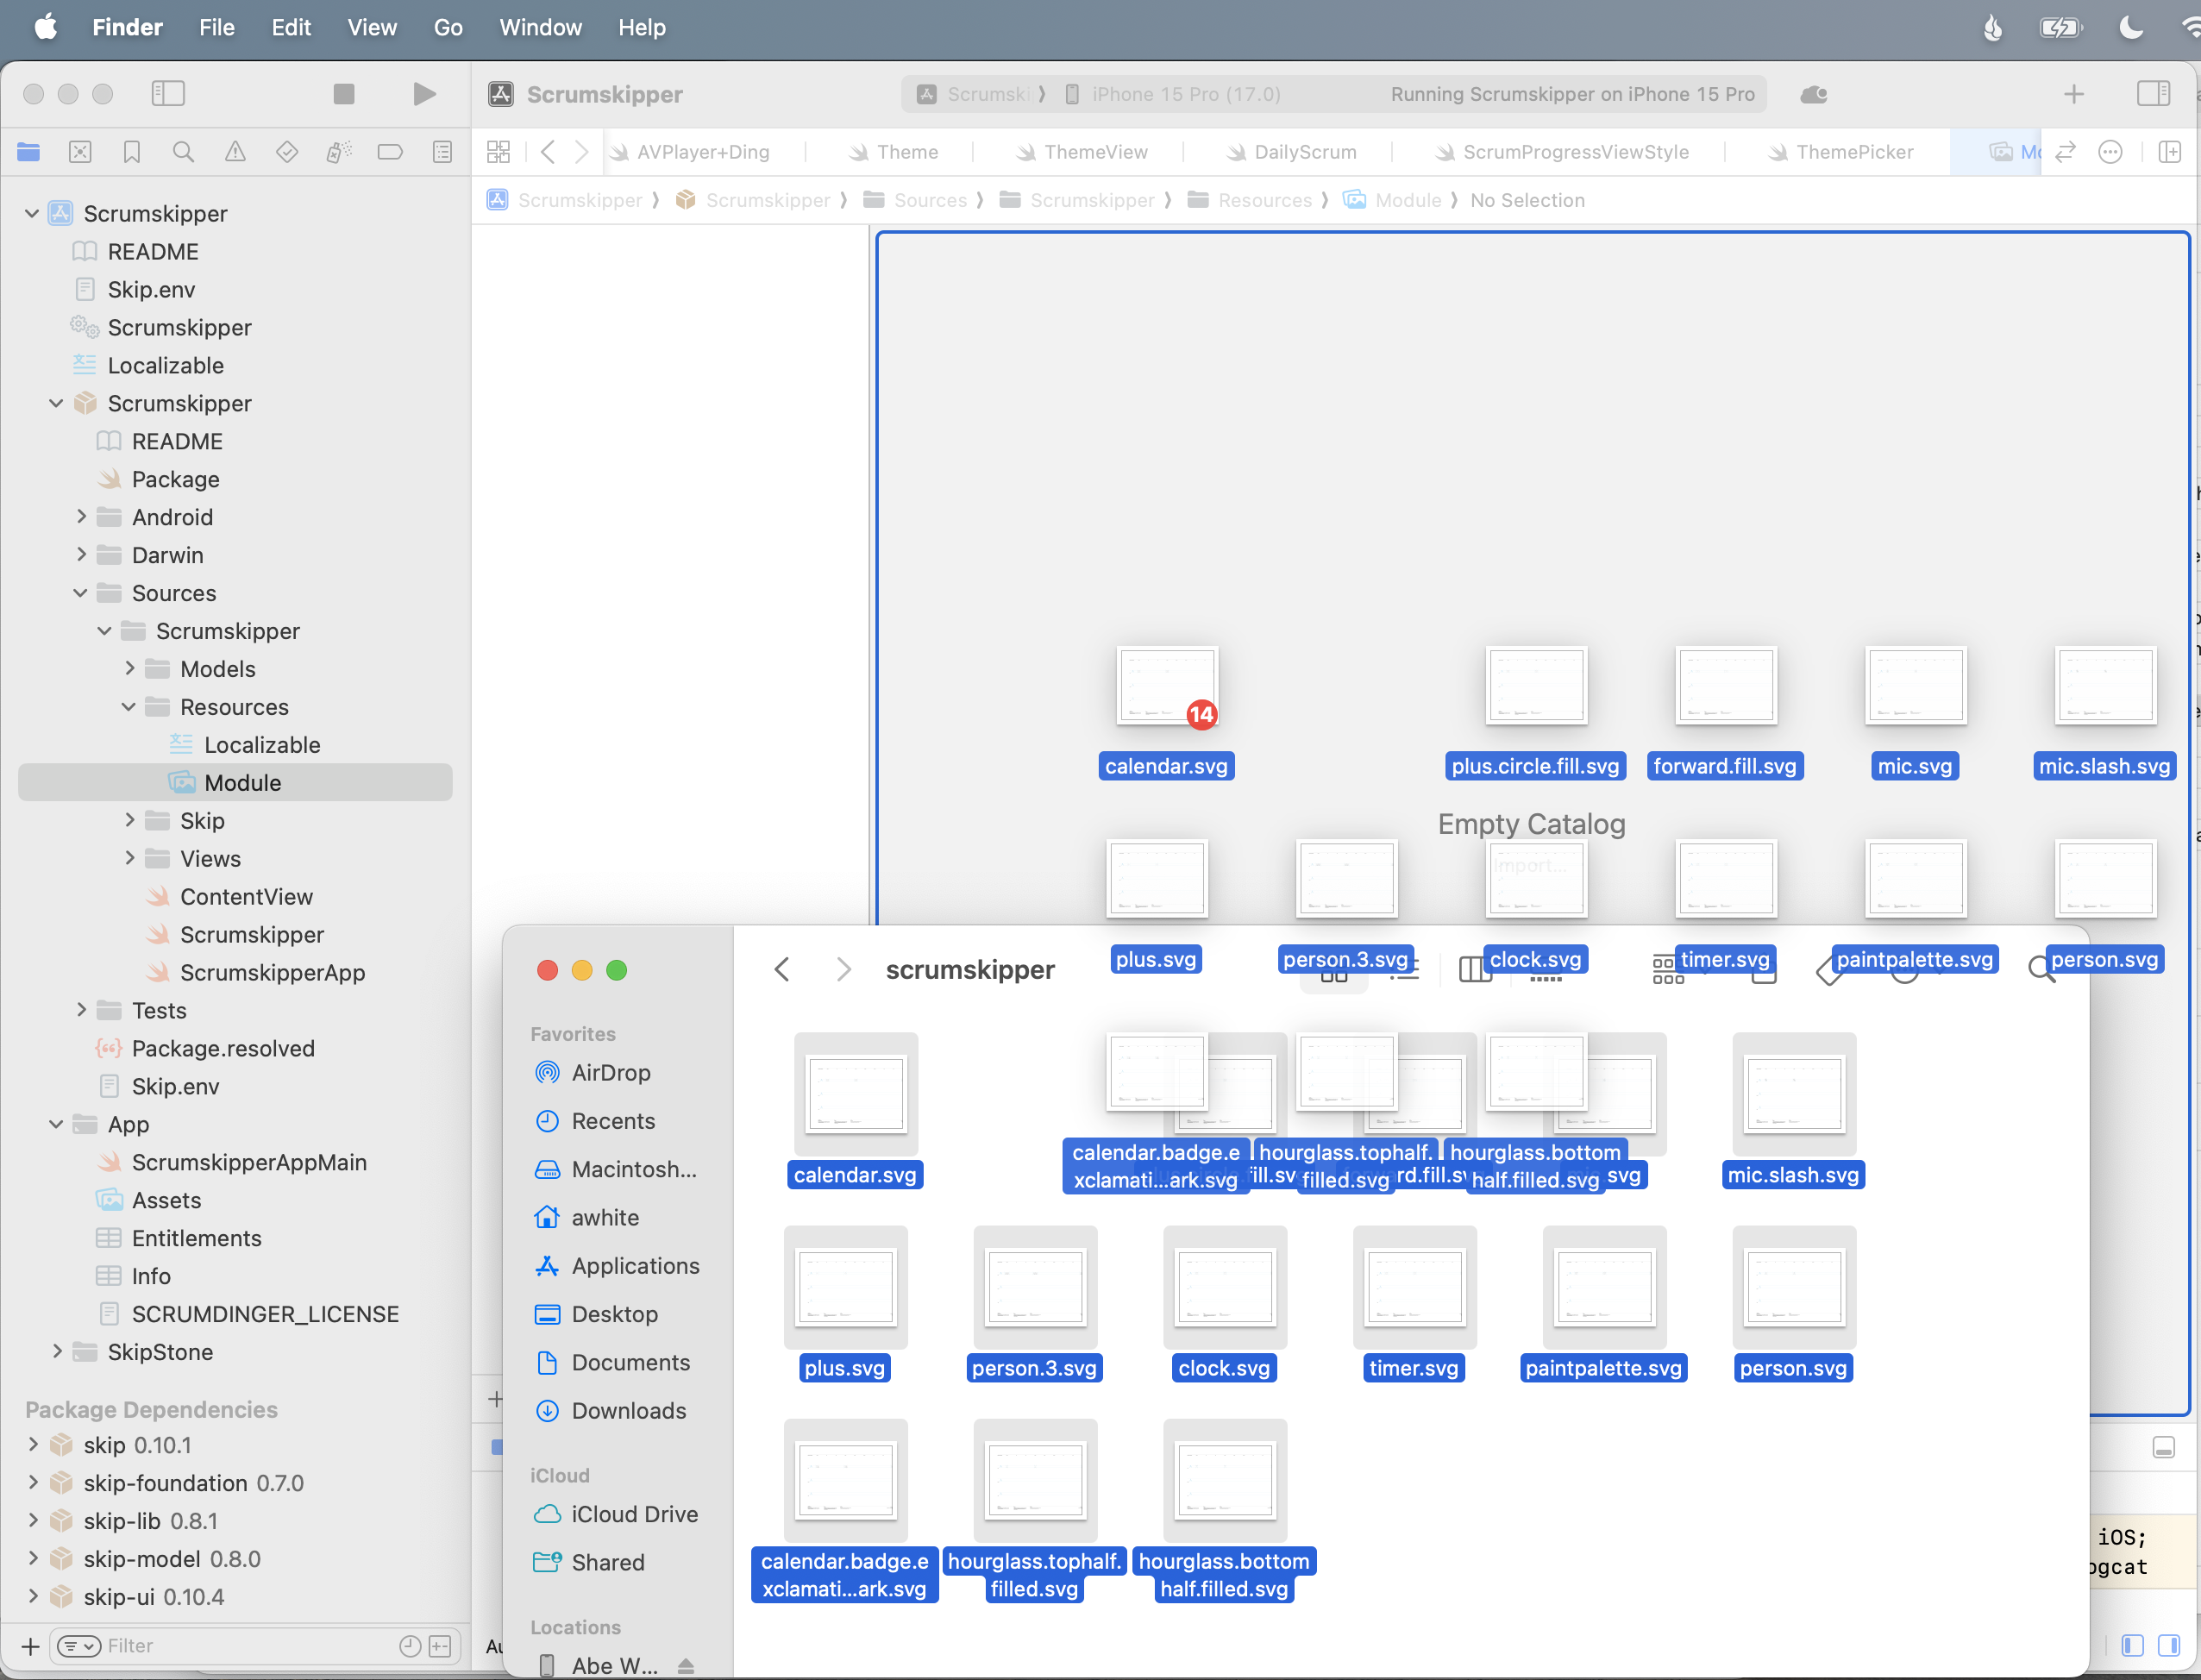
Section titled “The Rapidly Expanding Skip Ecosystem”A stock Skip app has just a few core dependencies: SkipUI, which provides a bridge from the SwiftUI API to a native Compose UI on Android, along with SkipFoundation, SkipModel, and SkipLib. But Skip also facilitates a thriving ecosystem of optional libraries, providing features and integrations that unlock the vast capabilities of third-party libraries and services and provide a unified dual-platform API surface.
Throughout 2025, Skip’s library ecosystem has matured and expanded dramatically. The community and core team introduced a wide range of new dual-platform frameworks designed to solve real-world problems without compromise. Some of our most popular integrations, like SQLite, Bluetooth, Firebase, Supabase, and WebView, have improved greatly through the help of outside contributions. These APIs were refined, edge cases were resolved, documentation improved, and real production feedback shaped work on of these frameworks.
In addition, we have some newer entrants to the Skip ecosystem, including:
- SkipNFC and SkipDevice for unlocking low-level hardware capabilities
- SkipStripe for Stripe for payments and subscriptions
- SkipPostHog for analytics and product insights
- SkipAuth0 for authentication and identity
- SkipSocketIO for real-time communication through the Socket.IO libraries
These integration frameworks aren’t always just simple wrappers; they are designed to feel idiomatic in Swift, be composable with SwiftUI, and act faithfully with each platform’s underlying capabilities. And all of these platforms work equally with with transpiled Skip Lite as well as compiled Skip Fuse. A partial list of these Skip modules can be found at the Skip Module Index.
Looking Ahead to 2026
Section titled “Looking Ahead to 2026”As exciting as 2025 was, we’re even more energized by what’s ahead. Our roadmap for 2026 includes:
- A growing catalog of integration frameworks for popular libraries, services, and backend platforms
- Continued expansion and refinement of SkipFuse and Swift-on-Android tooling
- Performance improvements, better diagnostics, and enhanced developer ergonomics
- Enhanced IDE integration, both with our existing Xcode support as well as emerging alternatives for iOS development
- A new series of deep-dive blog posts exploring real-world Skip architectures, advanced SwiftUI patterns, and platform-specific best practices
Most importantly, we’ll continue building Skip in close collaboration with the community that made this year possible. If you haven’t yet tried Skip, there’s no better time than now to sign up for your free evaluation and start creating universal mobile apps that are free from compromises.
As always, Happy Skipping, and Happy New Year!


 {: style=“text-align: center; width: 200px; margin: auto;”}